And I’ll admit, like many others, poaching eggs didn’t come easily to me at first. I would overpoach them, or the eggs would turn out as weird blobs. But after lots of attempts and tweaks, along with a good amount of practice (did I mention I love eggs?), I would like to think I’ve gotten pretty darn good at poaching eggs. Granted, there are a lot of different techniques to poach eggs out there, but this method gets the job done easily and reliably – and for someone who eats as many eggs as I do, this is essential.
A couple of notes to get a perfect poached egg:
- Be sure to use fresh eggs versus older eggs. You can use older eggs but they’re tend to have more egg white wisps and not stay together as well as fresh ones.
- Don’t leave out the vinegar or salt. I usually stick to standard white vinegar, but have substituted other vinegars (including white wine, rice, or even apple cider vinegar) without noticeable difference. And I typically use kosher salt, but honestly, table salt works just fine. Both are important to add to the poaching water for the best results.
- Following the instructions below, you can add two eggs to the bowl or ramekin and poach both eggs at one time in the exact same fashion with no change in results. They will still only require 3 minutes to cook. I often cook two at a time to save time, and because one poached egg is never enough.
How to poach an egg
Step 1: Boil the water
Fill a medium-size pot with water to about ~3 inches deep. Bring to a boil.
VC note: If I’m in a rush, I’ll cover the pot to bring to a boil faster. But bringing the water to a boil and then lowering the heat allows you to control the temperature much better than trying to hit the right temp from the start.
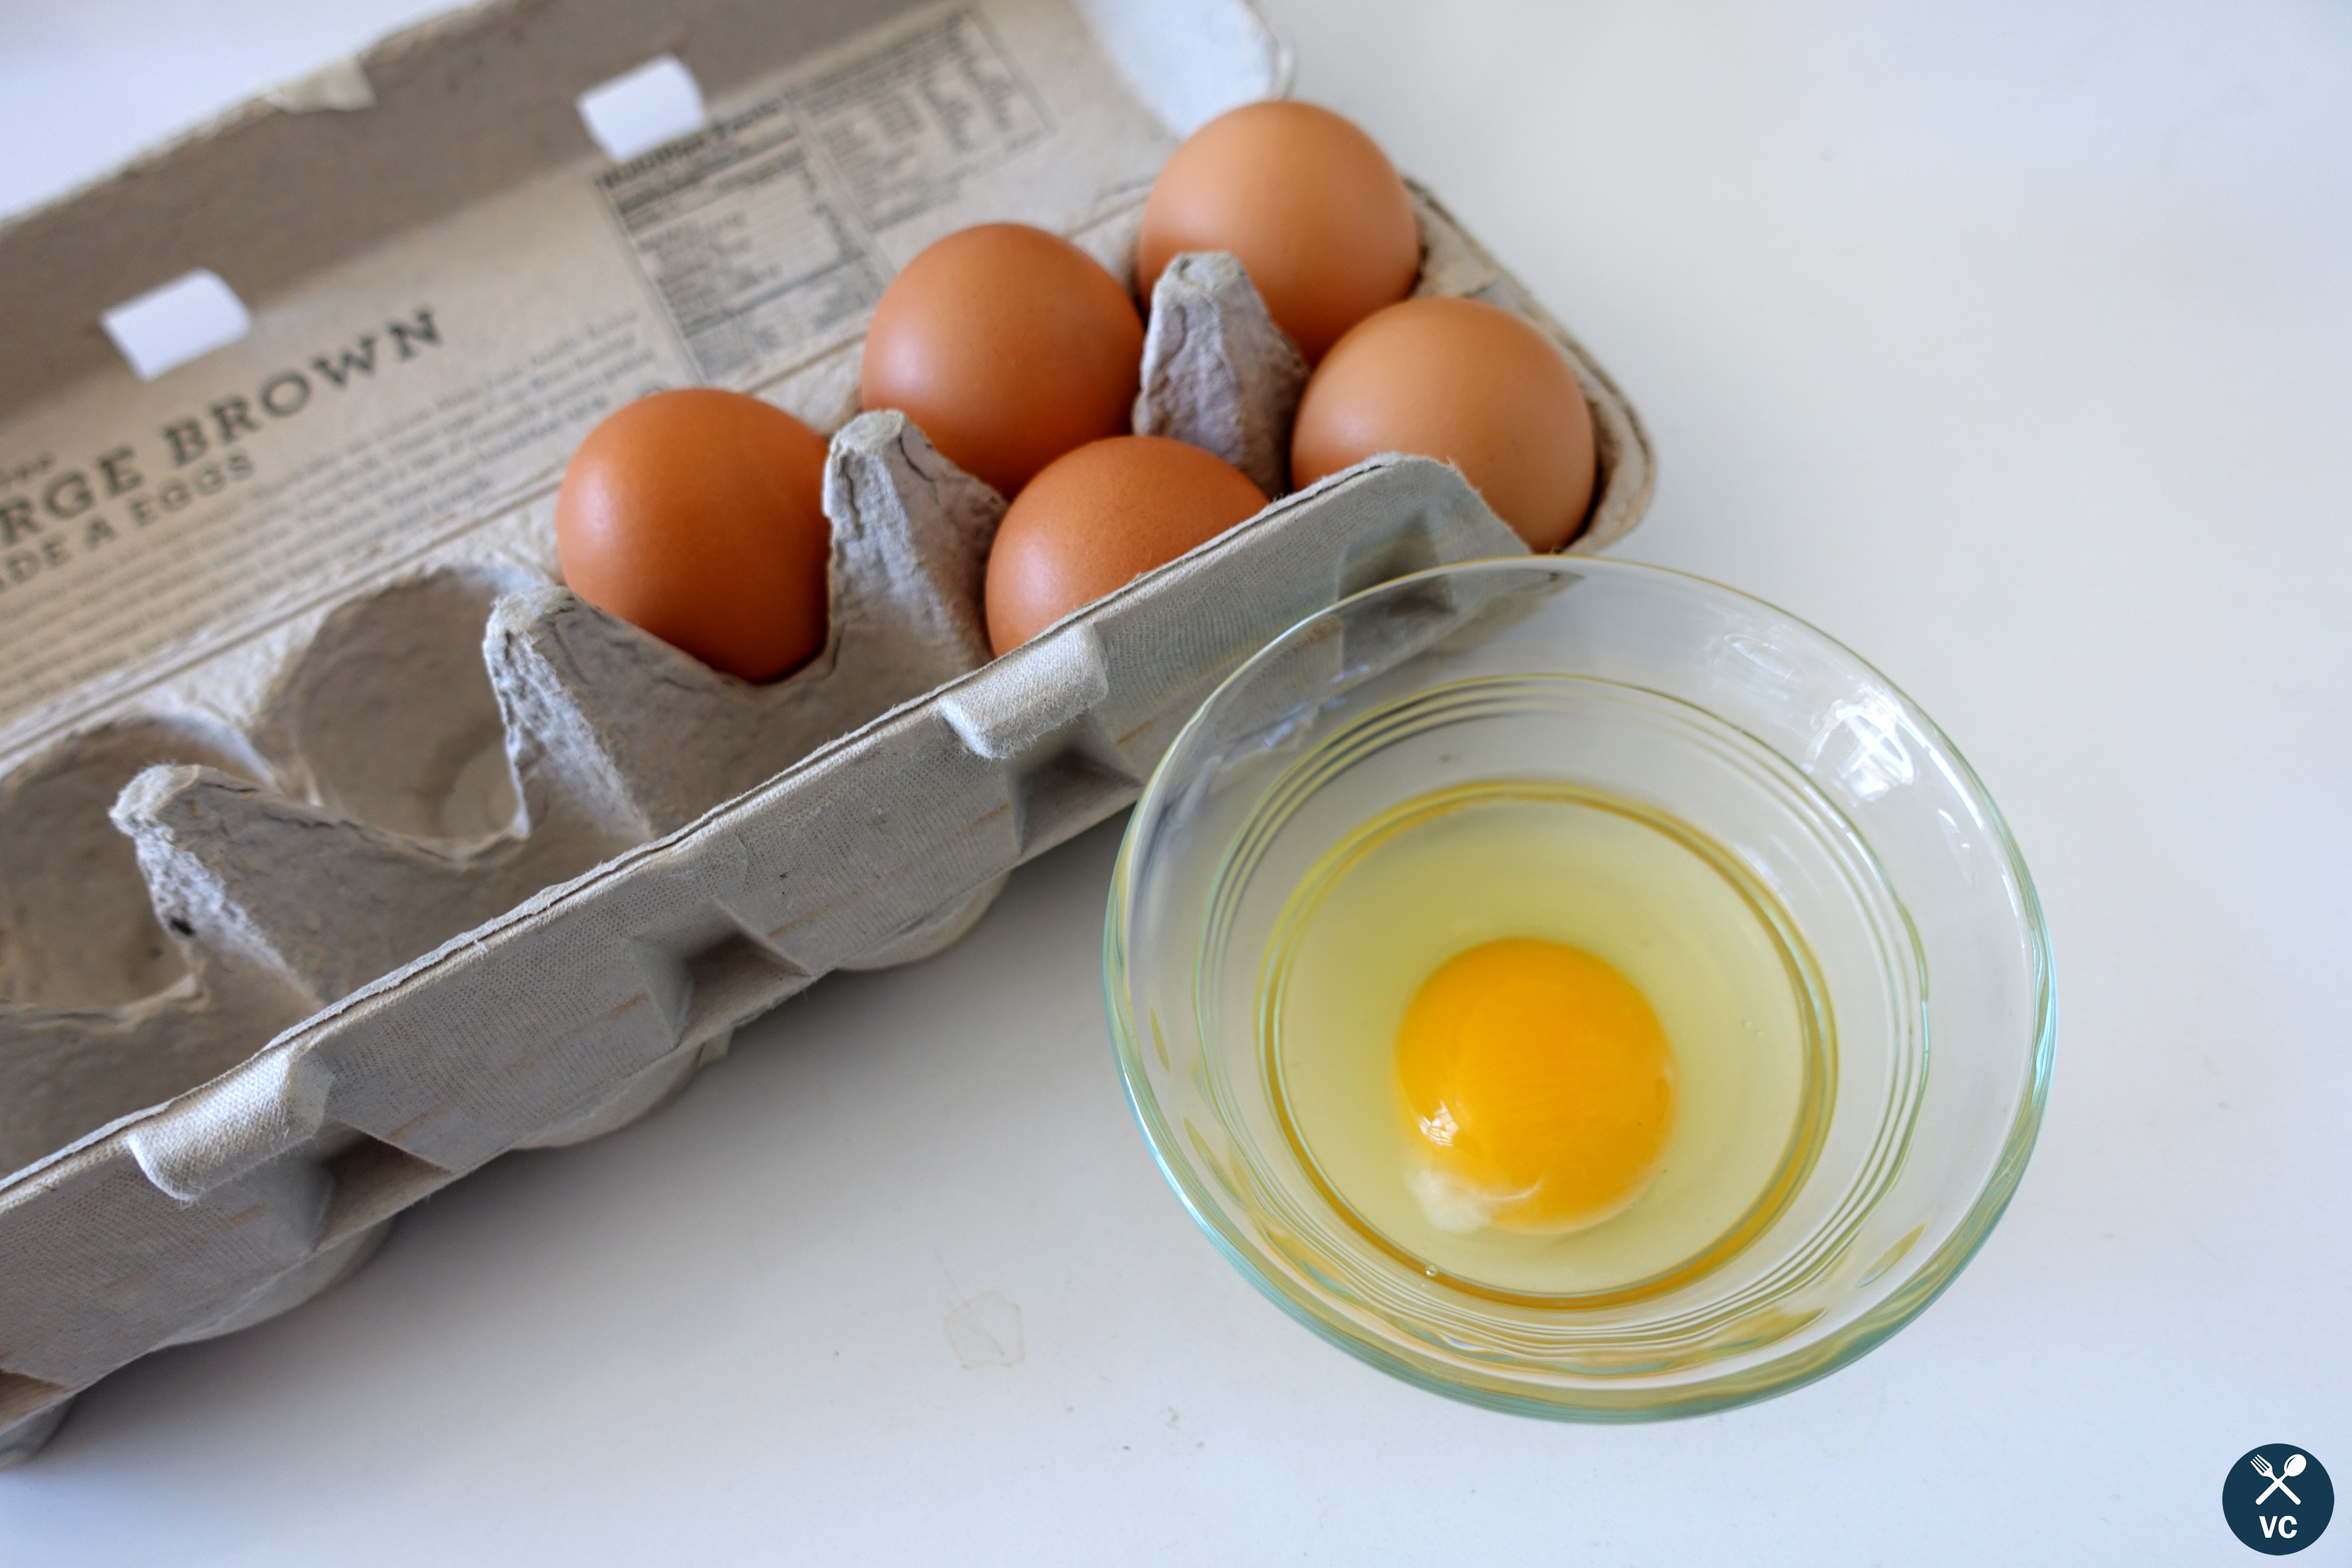
Step 2: Crack an egg into a bowl
As the water boils, crack the egg into a small bowl or ramekin.
VC note: This is super helpful and important to add the egg to the water – you don’t want to awkwardly crack the egg into the water while trying to multitask, not to mention fish out pieces of shell from boiling water. I may or may not be speaking from experience. Also worth noting that if poaching multiple eggs at a time, many sources will recommend one egg per bowl for prettier results. But for convenience, I often just crack two eggs in the same bowl. Still works out great.
Step 3: Lower water temp to a strong simmer and add vinegar and salt.
Once the water boils, lower the stove’s heat so the water remains at a brisk simmer (typically around medium heat). This means you should see bubbles rise to the surface fairly rapidly, but not break at the surface as you see in a full-on boil. Add vinegar to the water, and a healthy dose of salt.
VC note: Various people have differing opinions about the vinegar, but my own experience has found it helps the egg whites come together better. Some other people claim you have to rinse the eggs after they cook to wash away the vinegar taste, although I rarely do and can’t taste the vinegar. And salt helps with the flavor of the egg itself – similar to pasta.
Step 4: Create a swirling vortex and add the egg

Using a slotted spoon, vigorously swirl the water around the pot in a circular manner around the edges of a pot. You should see a vortex in the middle of a pot resembling a whirlpool. Gently lower the bowl containing the egg into the middle of the pot, and slide the egg in the water.
VC note: I like to look at the clock (which conveniently is right above the stove for me), when I add the egg to the water. It’s best to tilt the side of the bowl to just get in under the surface of water to ensure the egg doesn’t just splash in. The technique doesn’t change if you’re poaching one or two eggs. Let the egg(s) swirl around in the whirlpool a bit without disturbing the water.
Step 5: Cook for 3 minutes and remove the egg
Leave the egg in the water for around 3 minutes, checking on the temperature to ensure the water never comes to a rolling boil. If you’re antsy like me, you can gently push the water in the pot around in the same circular motion as your vortex, but at much slower speeds to help the egg whites wrap around itself. Then, remove the egg with a slotted spoon and place on a paper towel to dry.
VC note: I’ve consistently found that 3 minutes is just about right for me to cook the egg whites and leave the yolk runny, but you can leave slightly longer without consequence (up to 3 1/2 -4 minutes).
Step 6: Dig in!
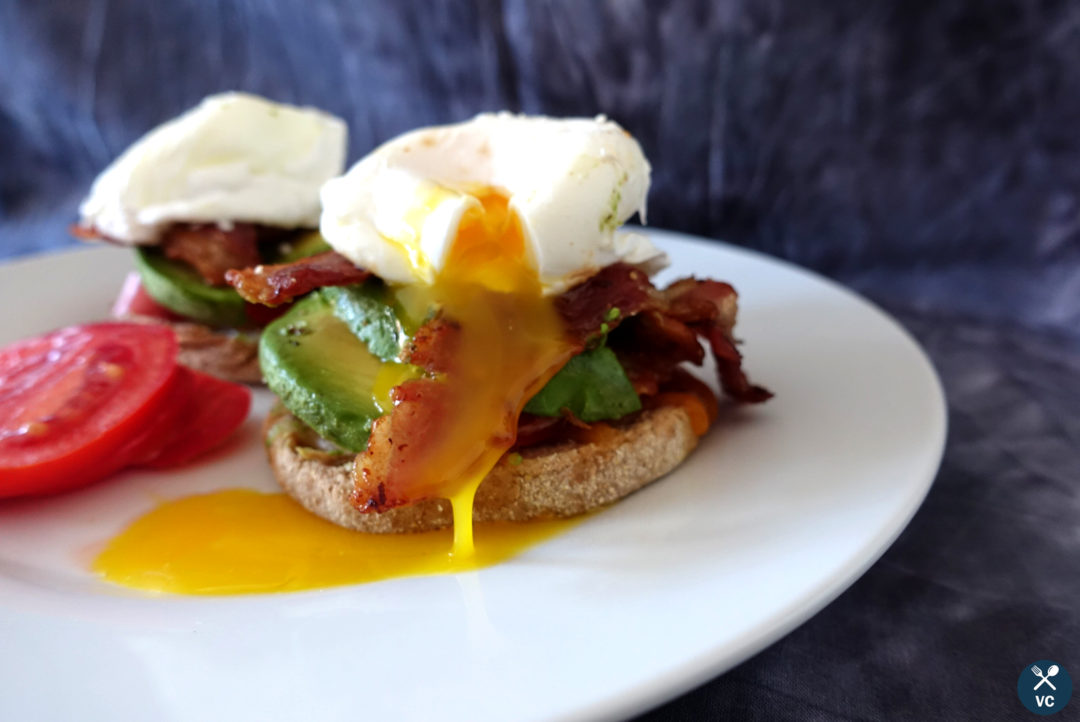
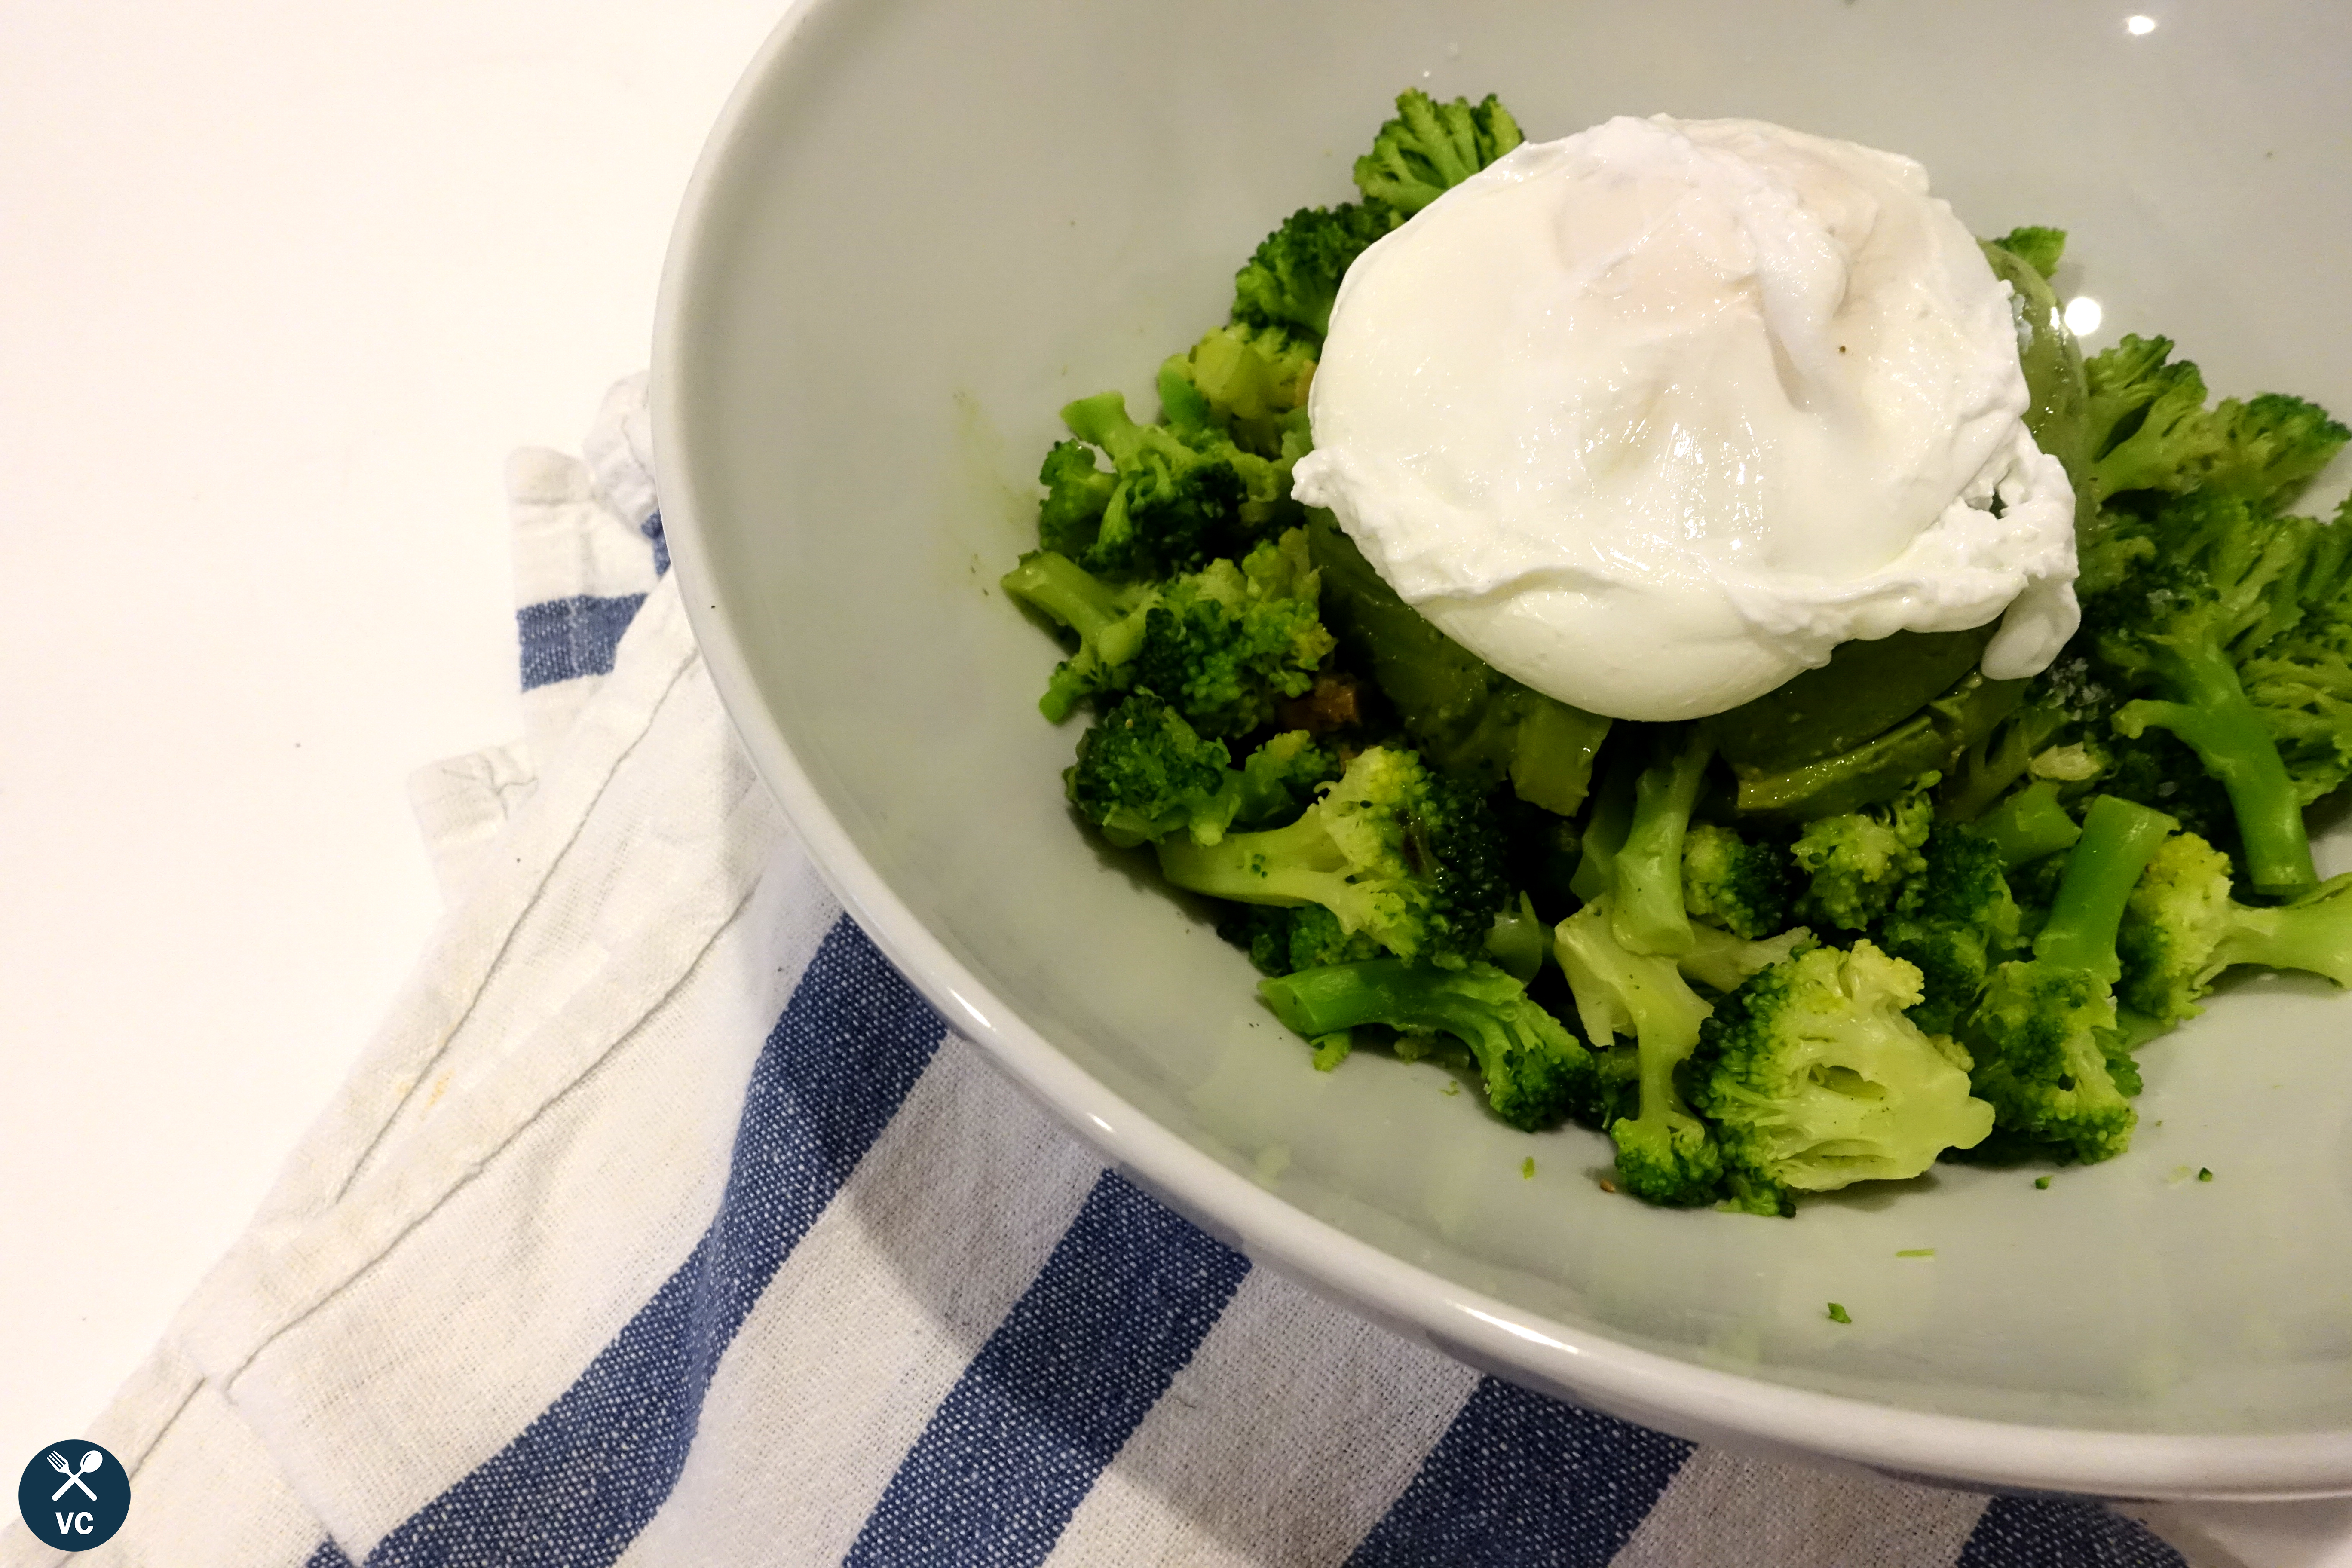
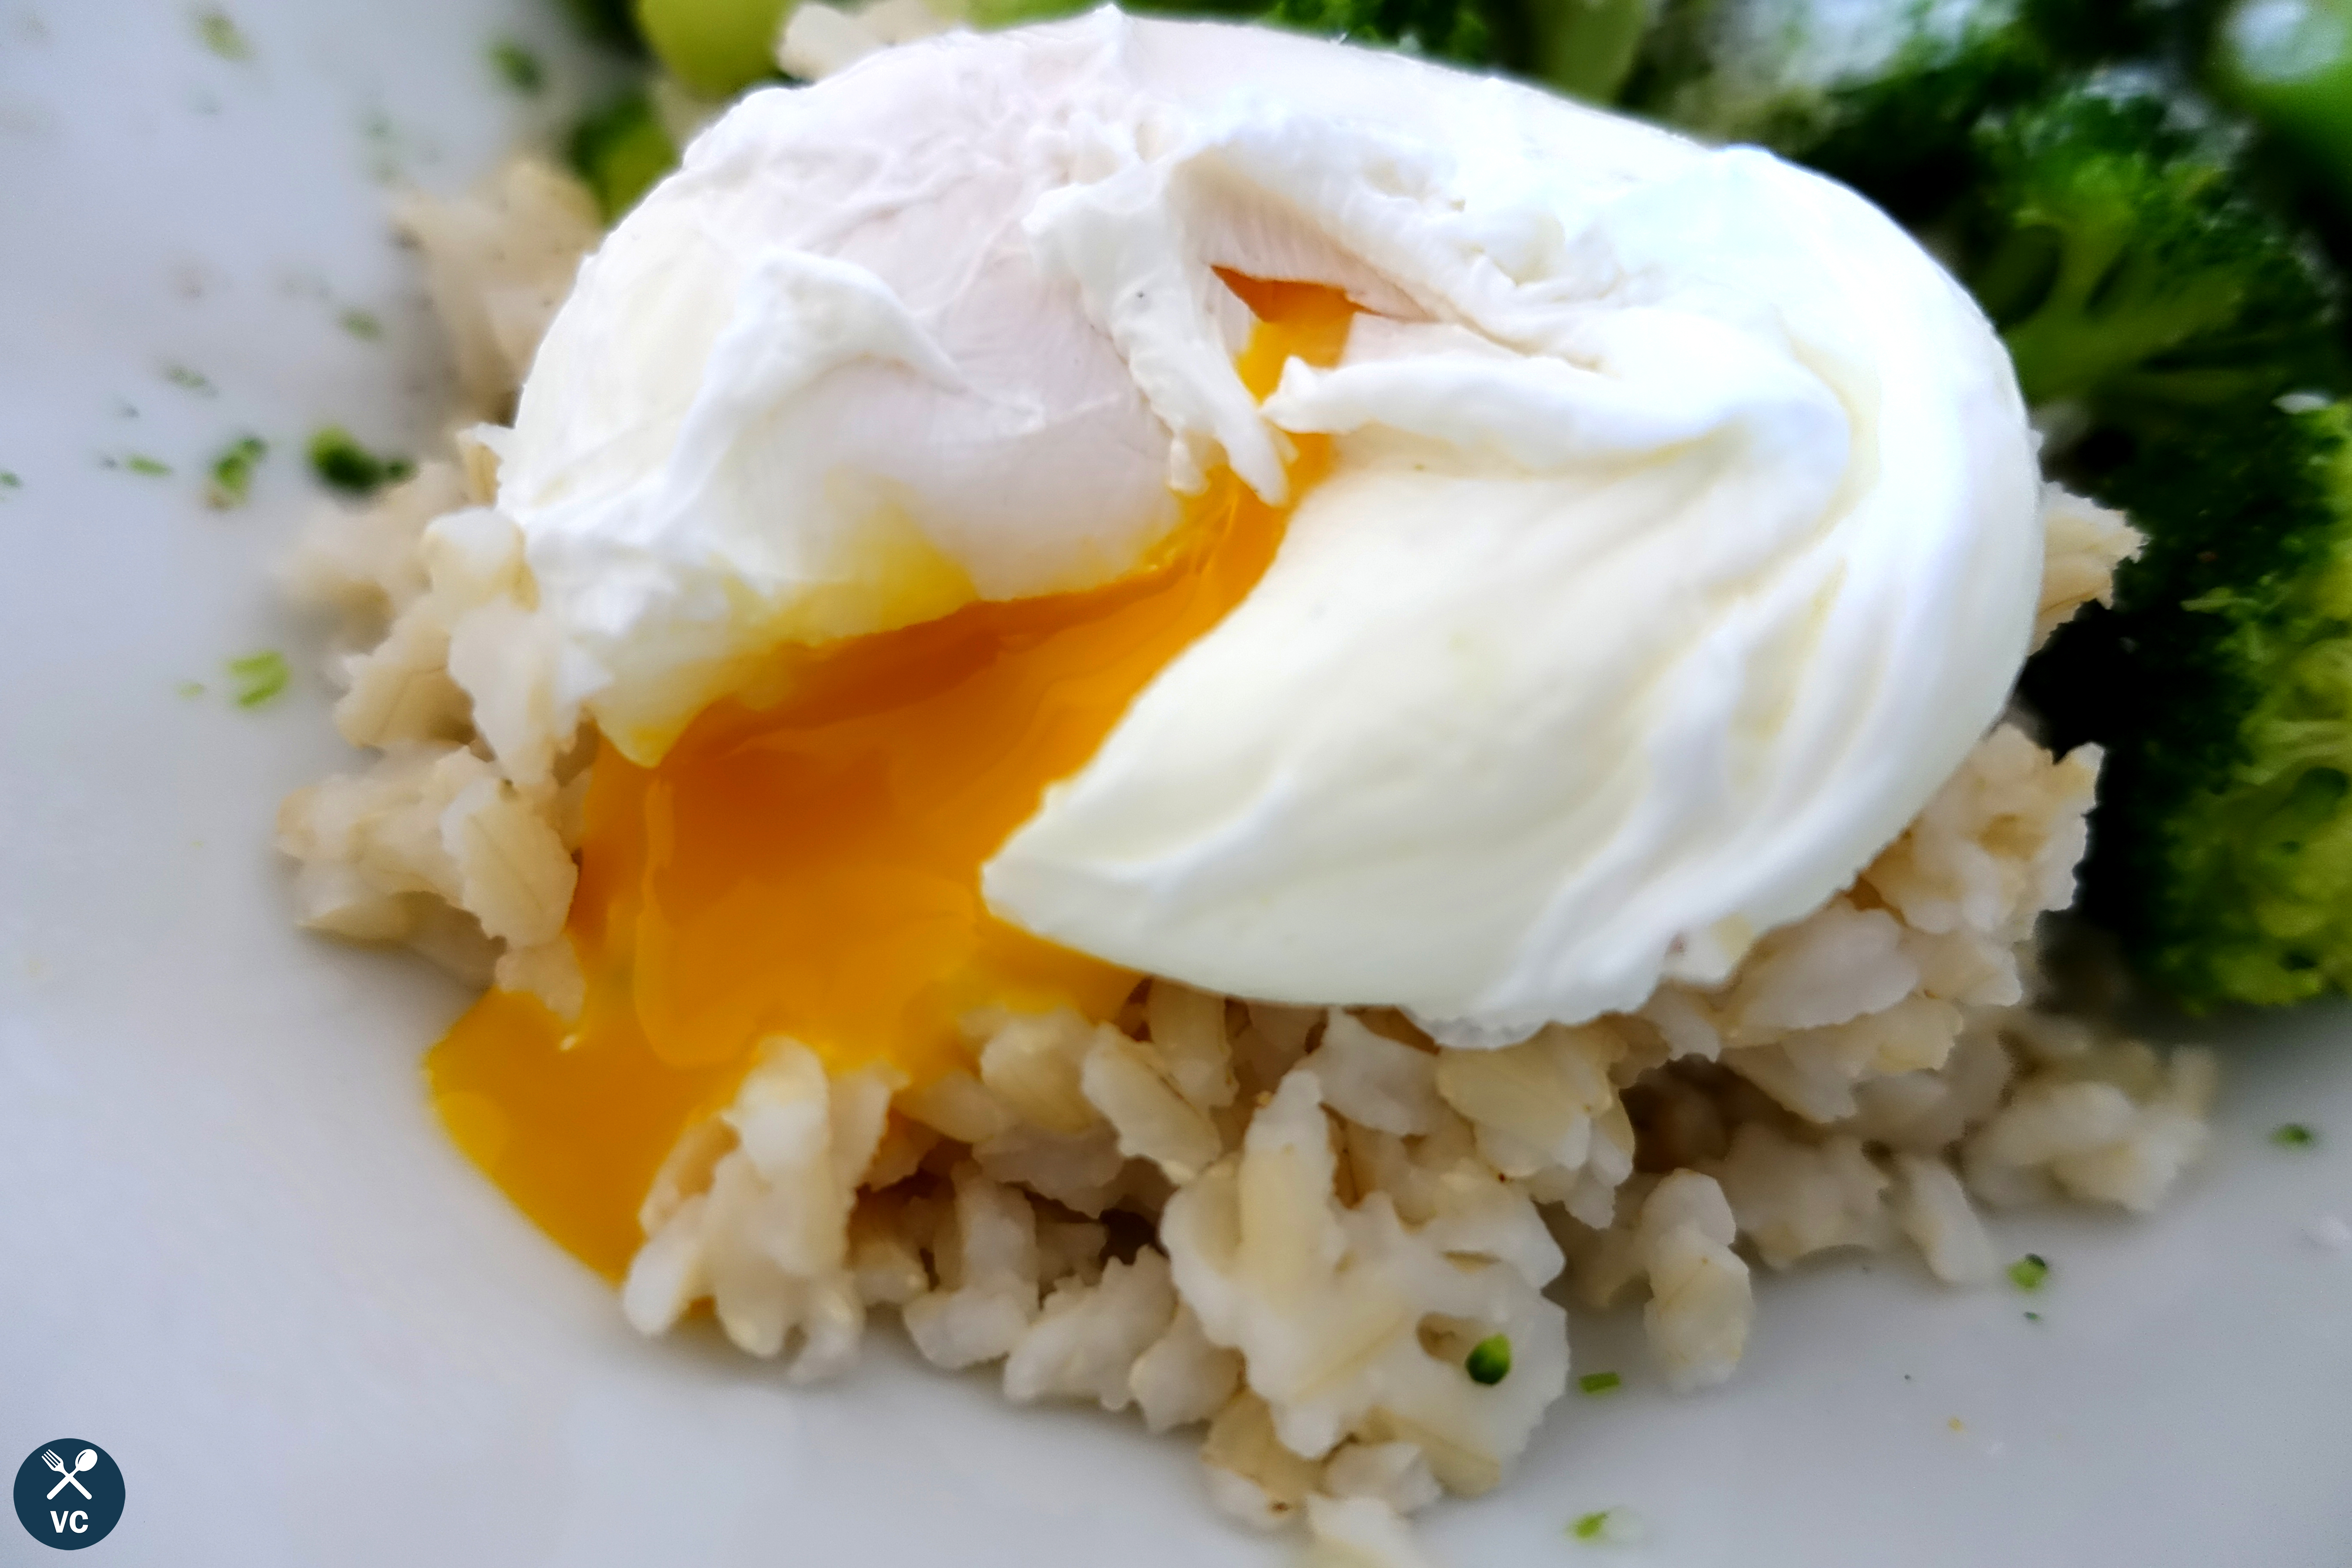
And ta-da! You should have a perfect poached egg, with the whites wrapped up like a cocoon around a gorgeous yellow runny yolk. Move the egg to whatever setting you prefer – toast, salad, rice bowl, etc.. Top with salt and pepper, then enjoy the yolk-y goodness!
VC note: I won’t lie, I often just use my hands to transfer the poached egg from the paper towel to its new home, because I find I have better grasp than using a slotted spoon. I also recommend topping the egg with a few flakes of sea salt to enhance the flavor. And as I mentioned before, I’ll top many a dish with a poached egg. It’s hard to go wrong.
Hope this was helpful! You’ll be able to use this poached eggs how-to for additional recipes such as my Asian turkey brown rice bowls and open-faced breakfast sandwiches. Enjoy!
How to Poach an Egg
Print RecipeEquipment Required
- medium size pot
- small bowl or ramekin
- slotted spoon
- paper towel sheet
Ingredients
- An egg
- Water
- Vinegar (about 1 tablespoon)
- Salt (2-3 tsp)
Instructions
Fill a medium-size pot with water to about ~3 inches deep. Bring to a boil.
As the water boils, crack the egg into a small bowl or ramekin.
Once the water boils, lower the stove’s heat so the water remains at a brisk simmer (around medium heat). Add vinegar to the water, and a healthy dose of salt.
Using a slotted spoon, vigorously swirl the water around the pot in a circular manner around the edges of a pot. Gently lower the bowl containing the egg into the middle of the pot, and slide the egg in the water.
Cook the egg in the water for around 3 minutes, checking on the temperature to ensure the water never comes to a rolling boil.
After 3 minutes, remove the egg with a slotted spoon and place on a paper towel to dry.
Transfer the poached egg to your final dish. Serve and enjoy!

3 Comments
Bacon deviled eggs – VC in the Kitchen
August 12, 2016 at 10:33 pm[…] already spoken about my obsession of eggs. So unsurprisingly, I love deviled eggs (although strangely enough, I don’t love hard boiled eggs […]
Asian turkey and avocado brown rice bowls – VC in the Kitchen
August 3, 2016 at 9:17 am[…] you can poach your eggs – be sure to refer to my “how to poach an egg” post for more details on how. Assemble your bowl with brown rice as the base, followed by the […]
Weekend breakfasts at home – VC in the Kitchen
July 25, 2016 at 10:16 am[…] 24, 2016 No Comments A few days ago, I introduced how to poach an egg, noting that poached eggs often top off many a meal in my house. Today, I’ll introduce an […]