This recipe requires a fair bit of chopping, but other than that, the actual process of assembling the turkey stuffed bell peppers is fairly simple. All you have to do is hollow the bell peppers, roast them, combine and sauté the filling ingredients, stuff the peppers with the filling, top with cheese and bake.
Some notes before you start
These turkey stuffed peppers are pretty forgiving. Feel free to use any mix of bell peppers – I personally prefer yellow, orange and red because they’re a bit sweeter than green, but green certainly works. The filling itself is also quite flexible; feel free to add in, remove, or substitute ingredients as you see fit. For instance, I’ve left out the diced tomatoes but went heavy on the tomato paste, or at time, removed mushrooms and added in spinach or cooked brown rice. If you wanted to make this dish vegetarian, I would consider subbing out the turkey with more mushrooms and adding in cooked brown rice or quinoa for more substance.
Feel free to modify the ingredients as you prefer, but the most important thing to remember is to season the stuffed peppers filling well. You’ll see me share similar tips for meatballs and dumplings. You’ll want the filling to stand up to the exterior bell pepper, so be sure to taste the filling before you add it into the pepper.
Prepare the bell peppers
To get started, preheat the oven to 350 degrees F/175 degrees C. Slice off the top of each of the six peppers; aim for about a centimeter below the top if possible. You just want to remove the stem and take the top off to access the inside of the pepper. Hollow out the pepper by removing the ribs and seeds, then rinse the insides.

Lightly sprinkle all of the insides of the peppers with kosher salt. Place the bell peppers in a baking dish and cover with aluminum foil. Bake 20 minutes in the preheated oven.
As the peppers bake, dice up the remaining pepper tops and set aside.
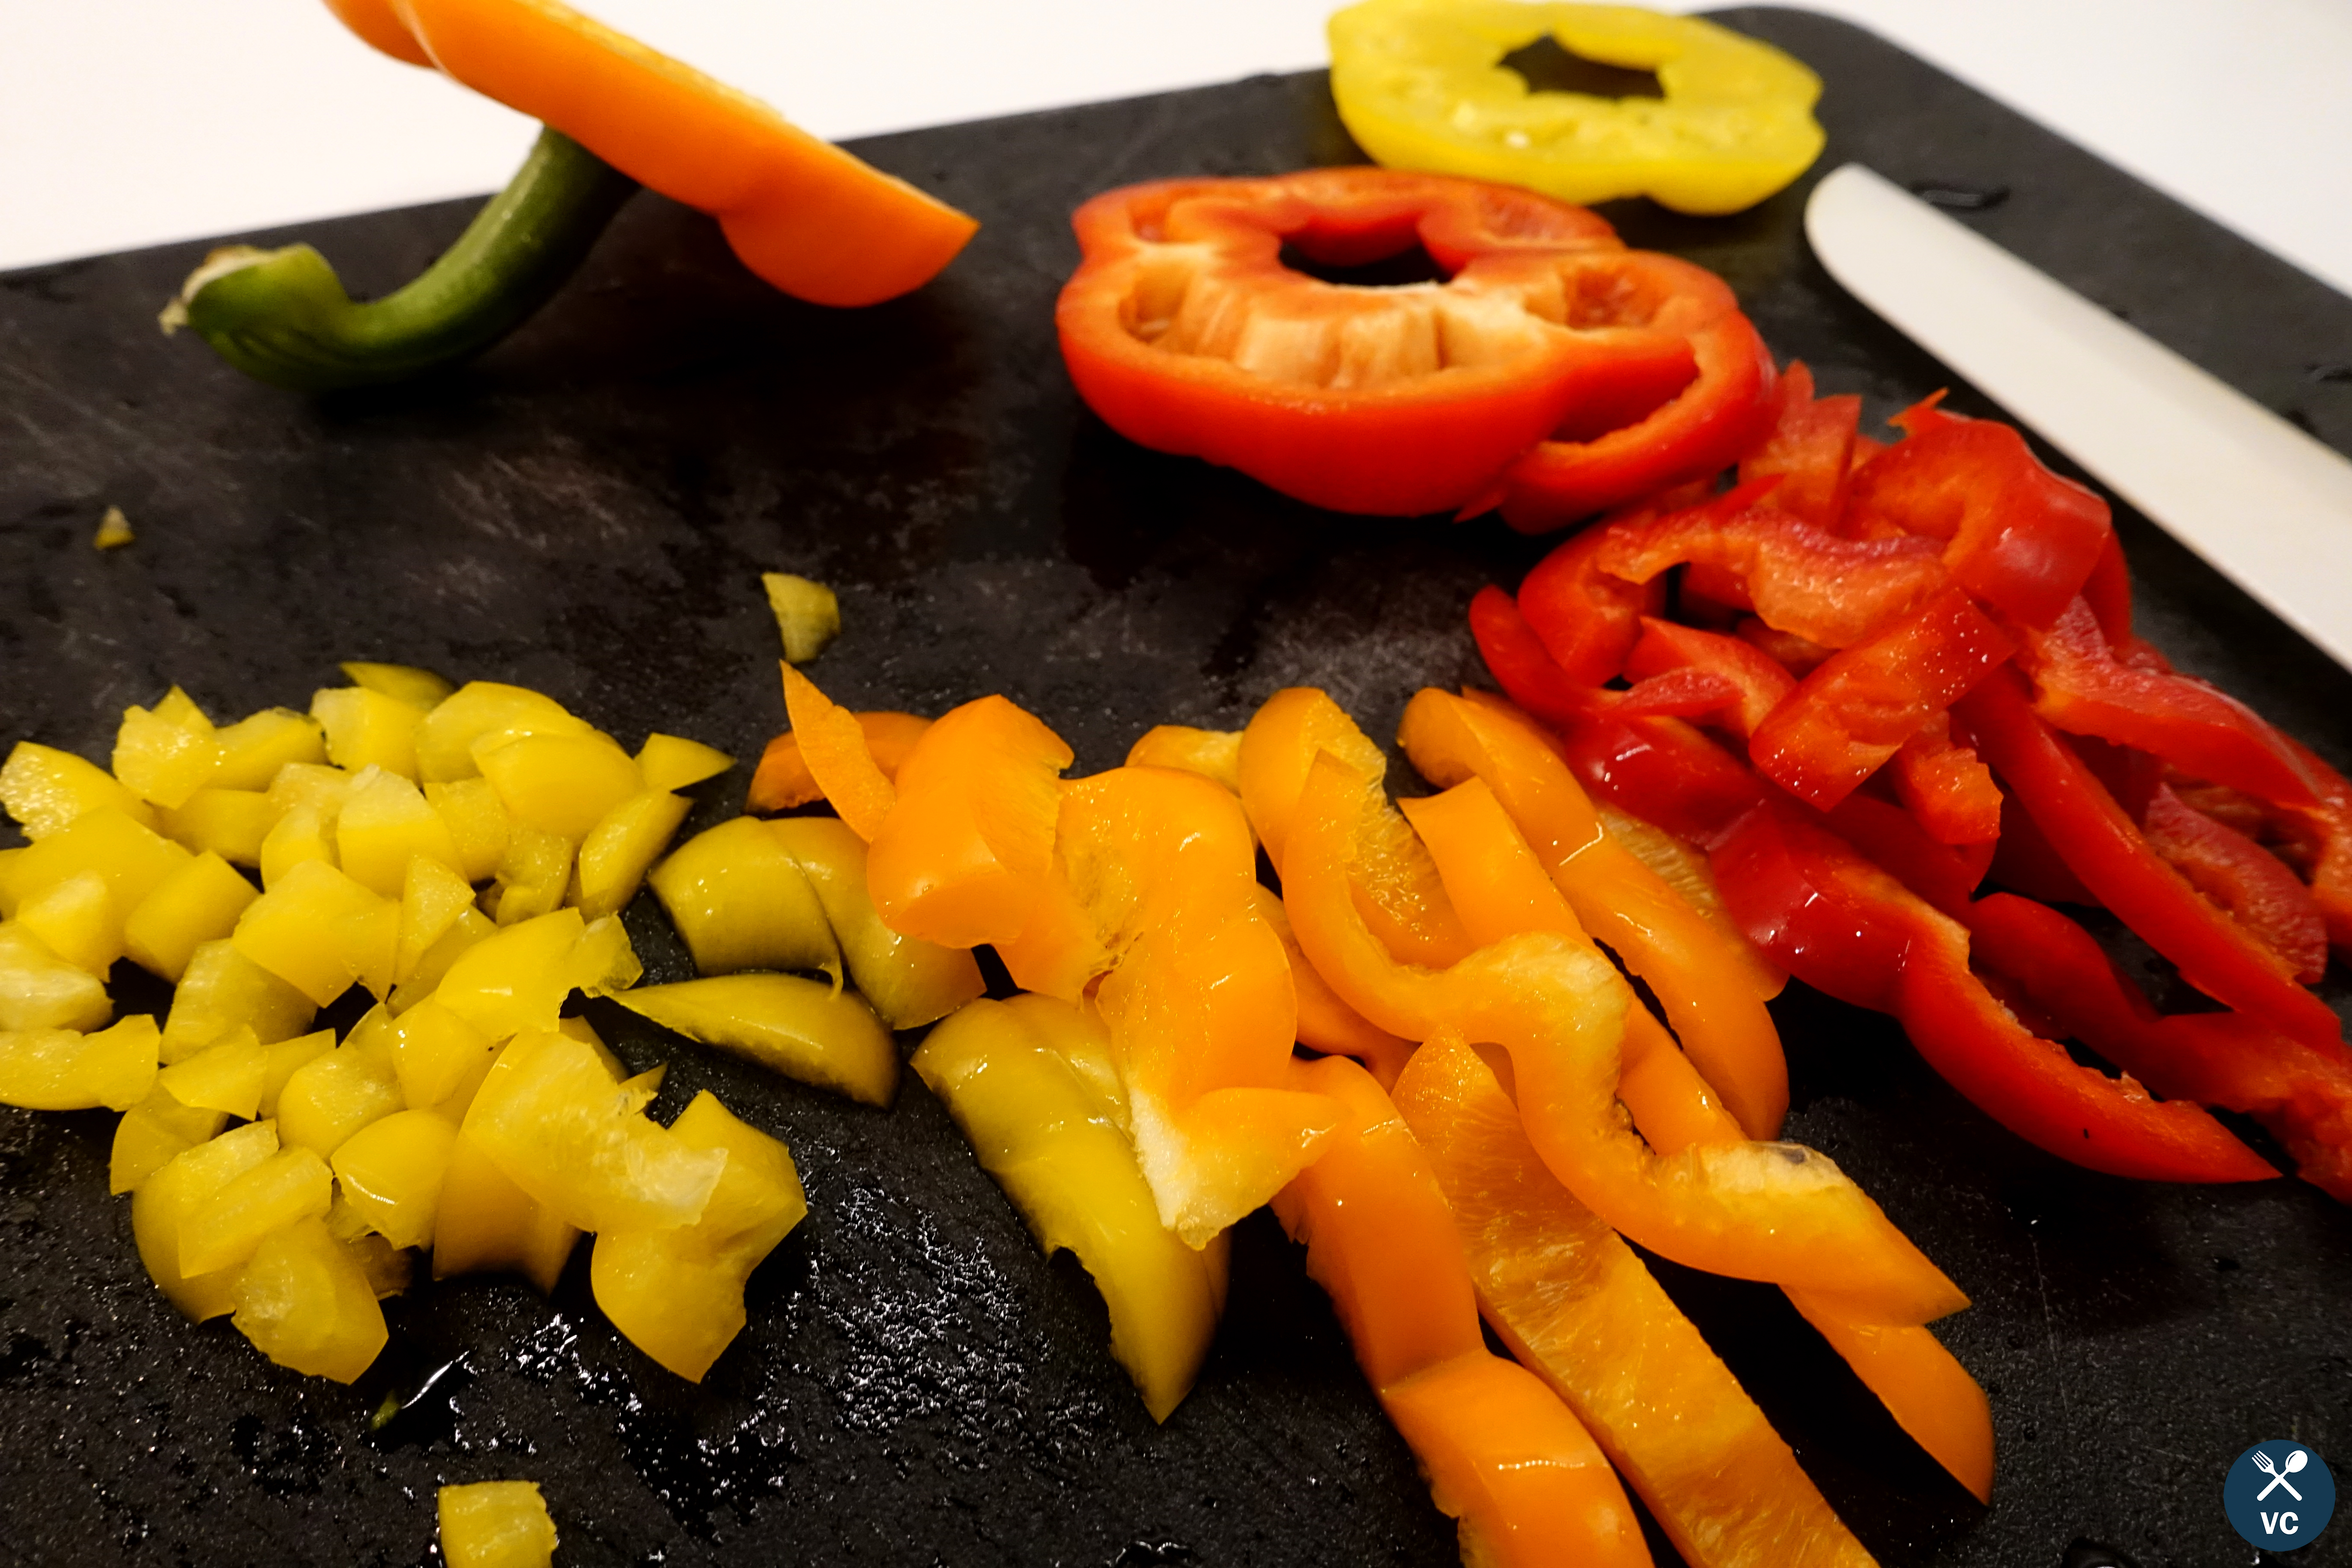
Remove the bell peppers from the oven after the 20 minutes pass, but keep the oven on as you’ll be baking the peppers again after they’re stuffed.
Cooking the filling
While the bell peppers are baking, you can get started on the filling.
In a large skillet or sauté pan, add one tablespoon of oil over medium high heat. Sauté the chopped onion and 3 cloves of minced garlic for 1-2 minutes, until fragrant. Add in the pound of ground turkey until browned, breaking up with the back up a wooden spoon, for about 6 minutes.
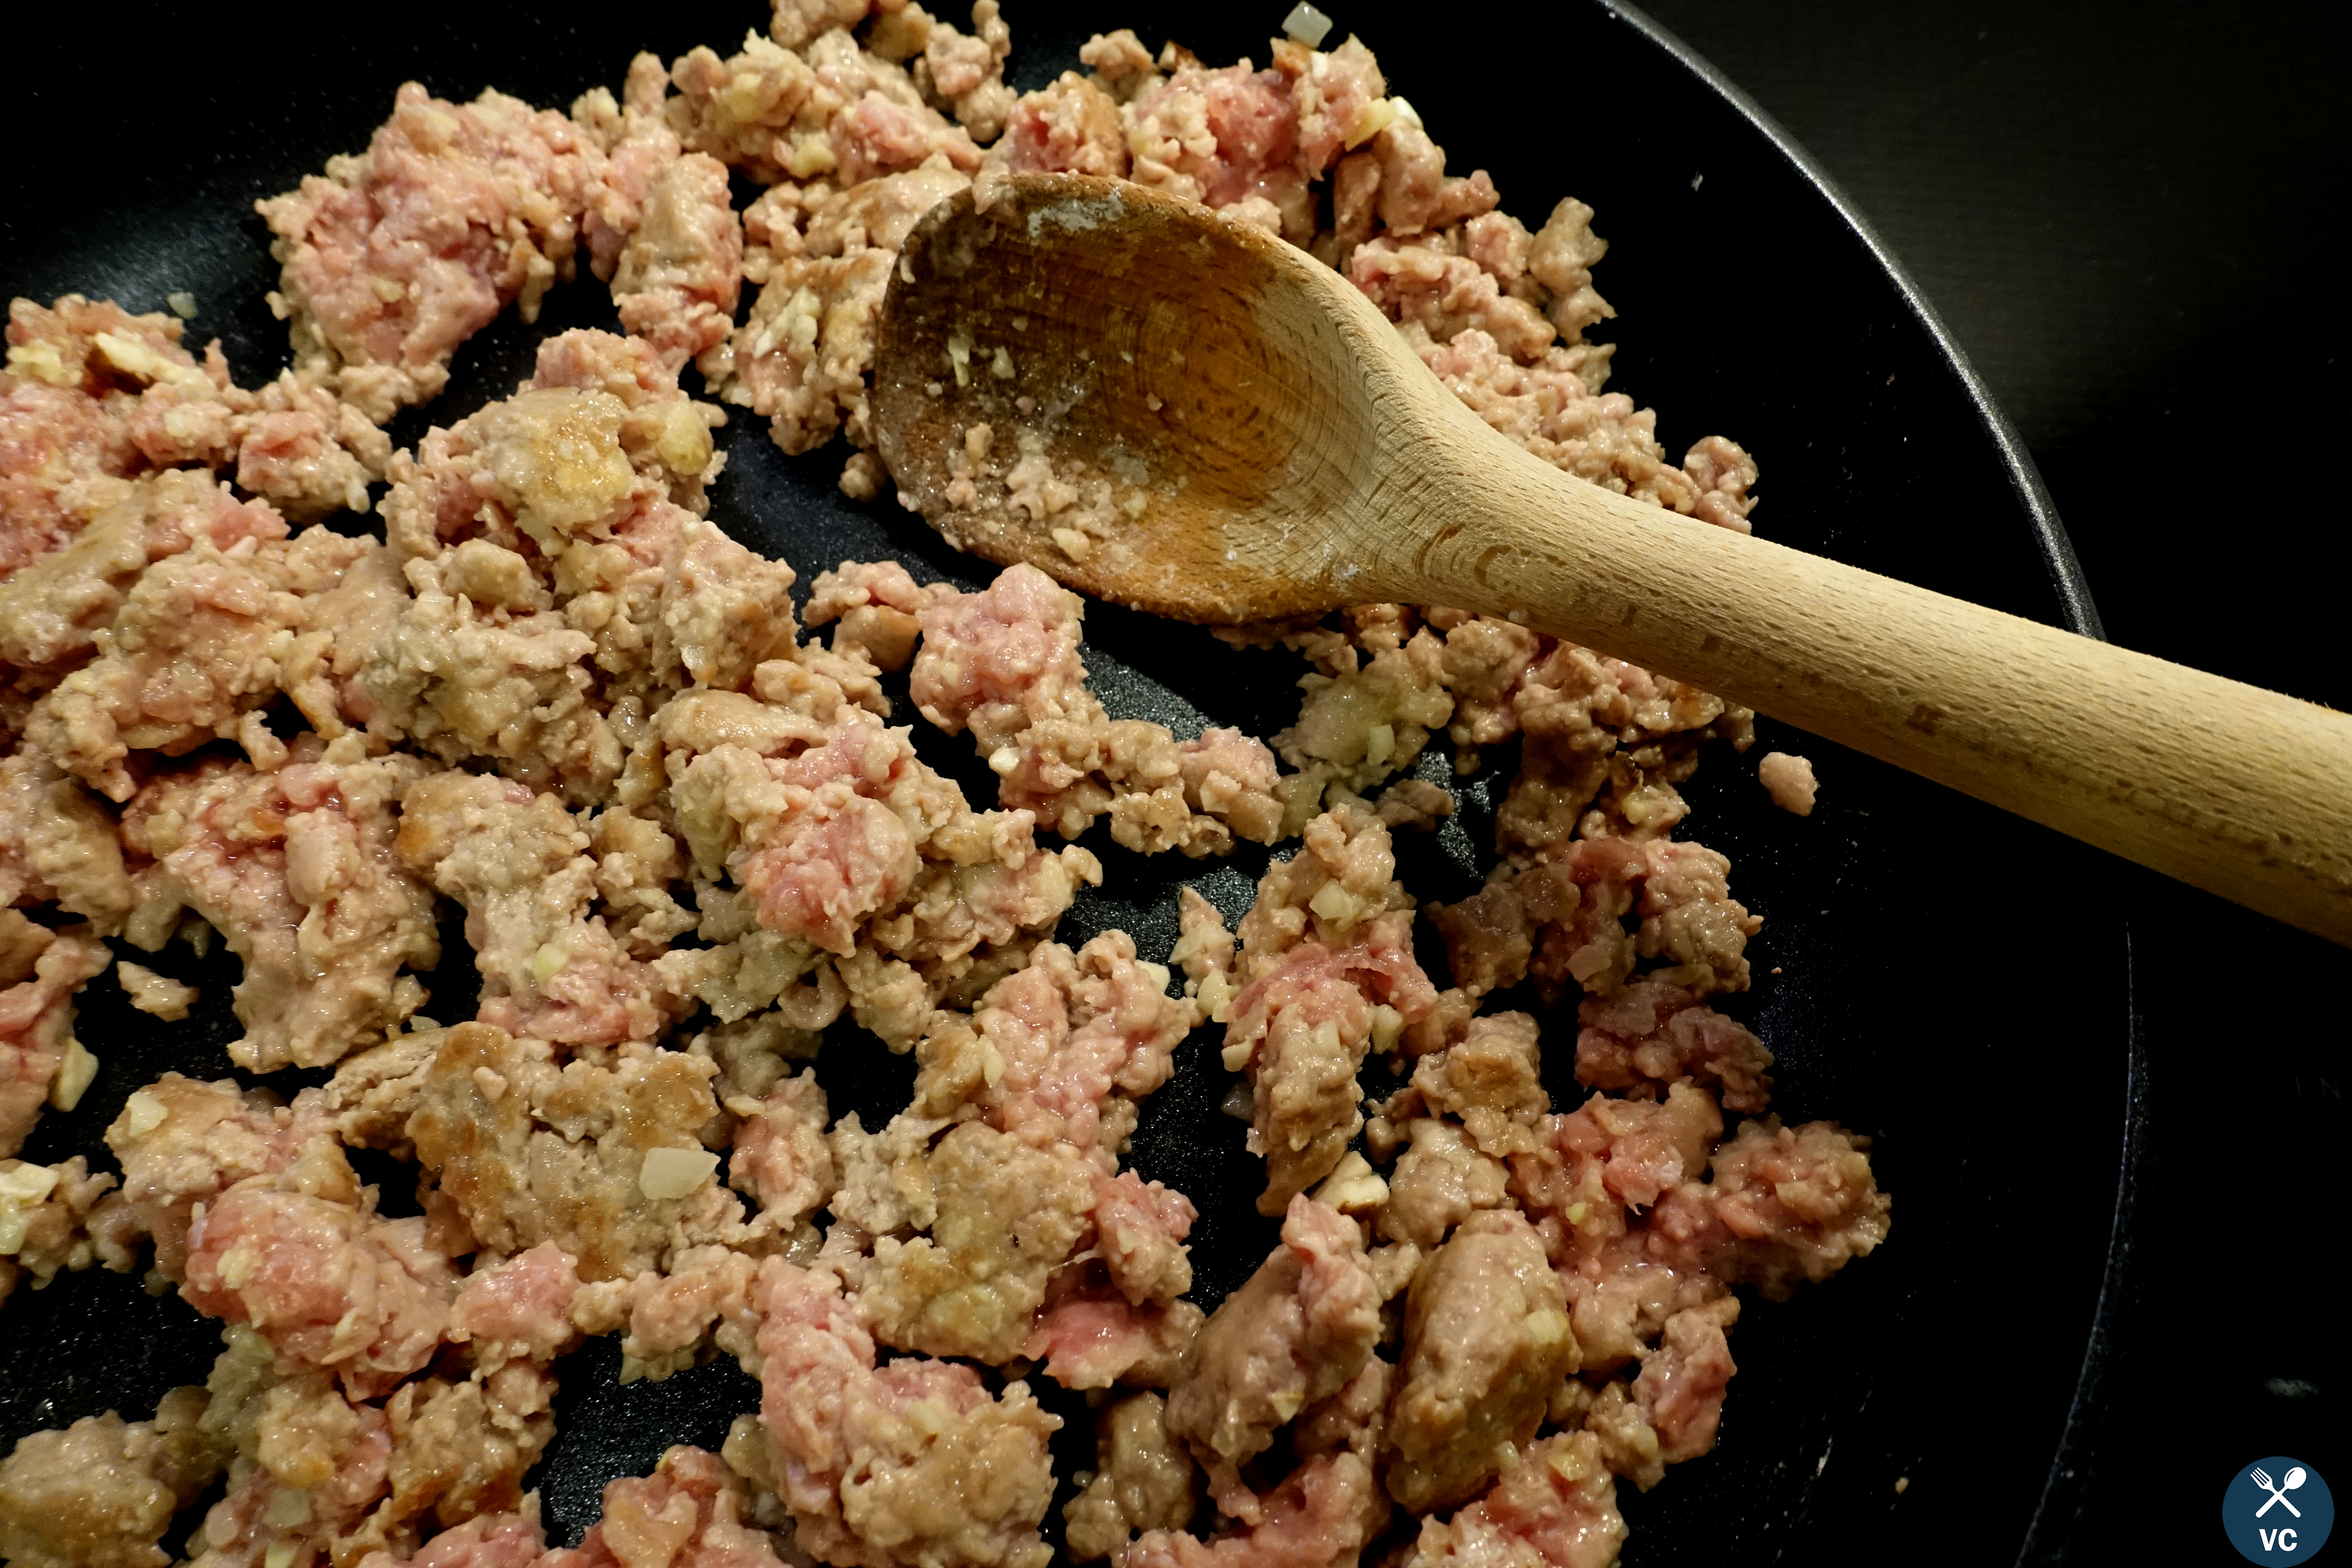
Add in the 8 chopped mushrooms, diced bell pepper tops, and 2 ribs of diced celery and cook for 4-5 minutes until softened. Stir in the can of diced tomatoes and juices, 2 tablespoons of tomato paste, 1 cup of corn, 1 tablespoon oregano, and ½ teaspoon red pepper flakes (or more to taste). Season generously with kosher salt and black pepper (I recommend around one tablespoon of salt, and 2 teaspoons black pepper). Per my note above, feel free to add, remove or swap out ingredients as you see fit, but this mixture is one of my favorites. And don’t forget to ensure that the filling is well-seasoned.
Cook for about 4-5 minutes more, until well incorporated. Stir in ¼ cup each of chopped basil and parsley until warmed through.
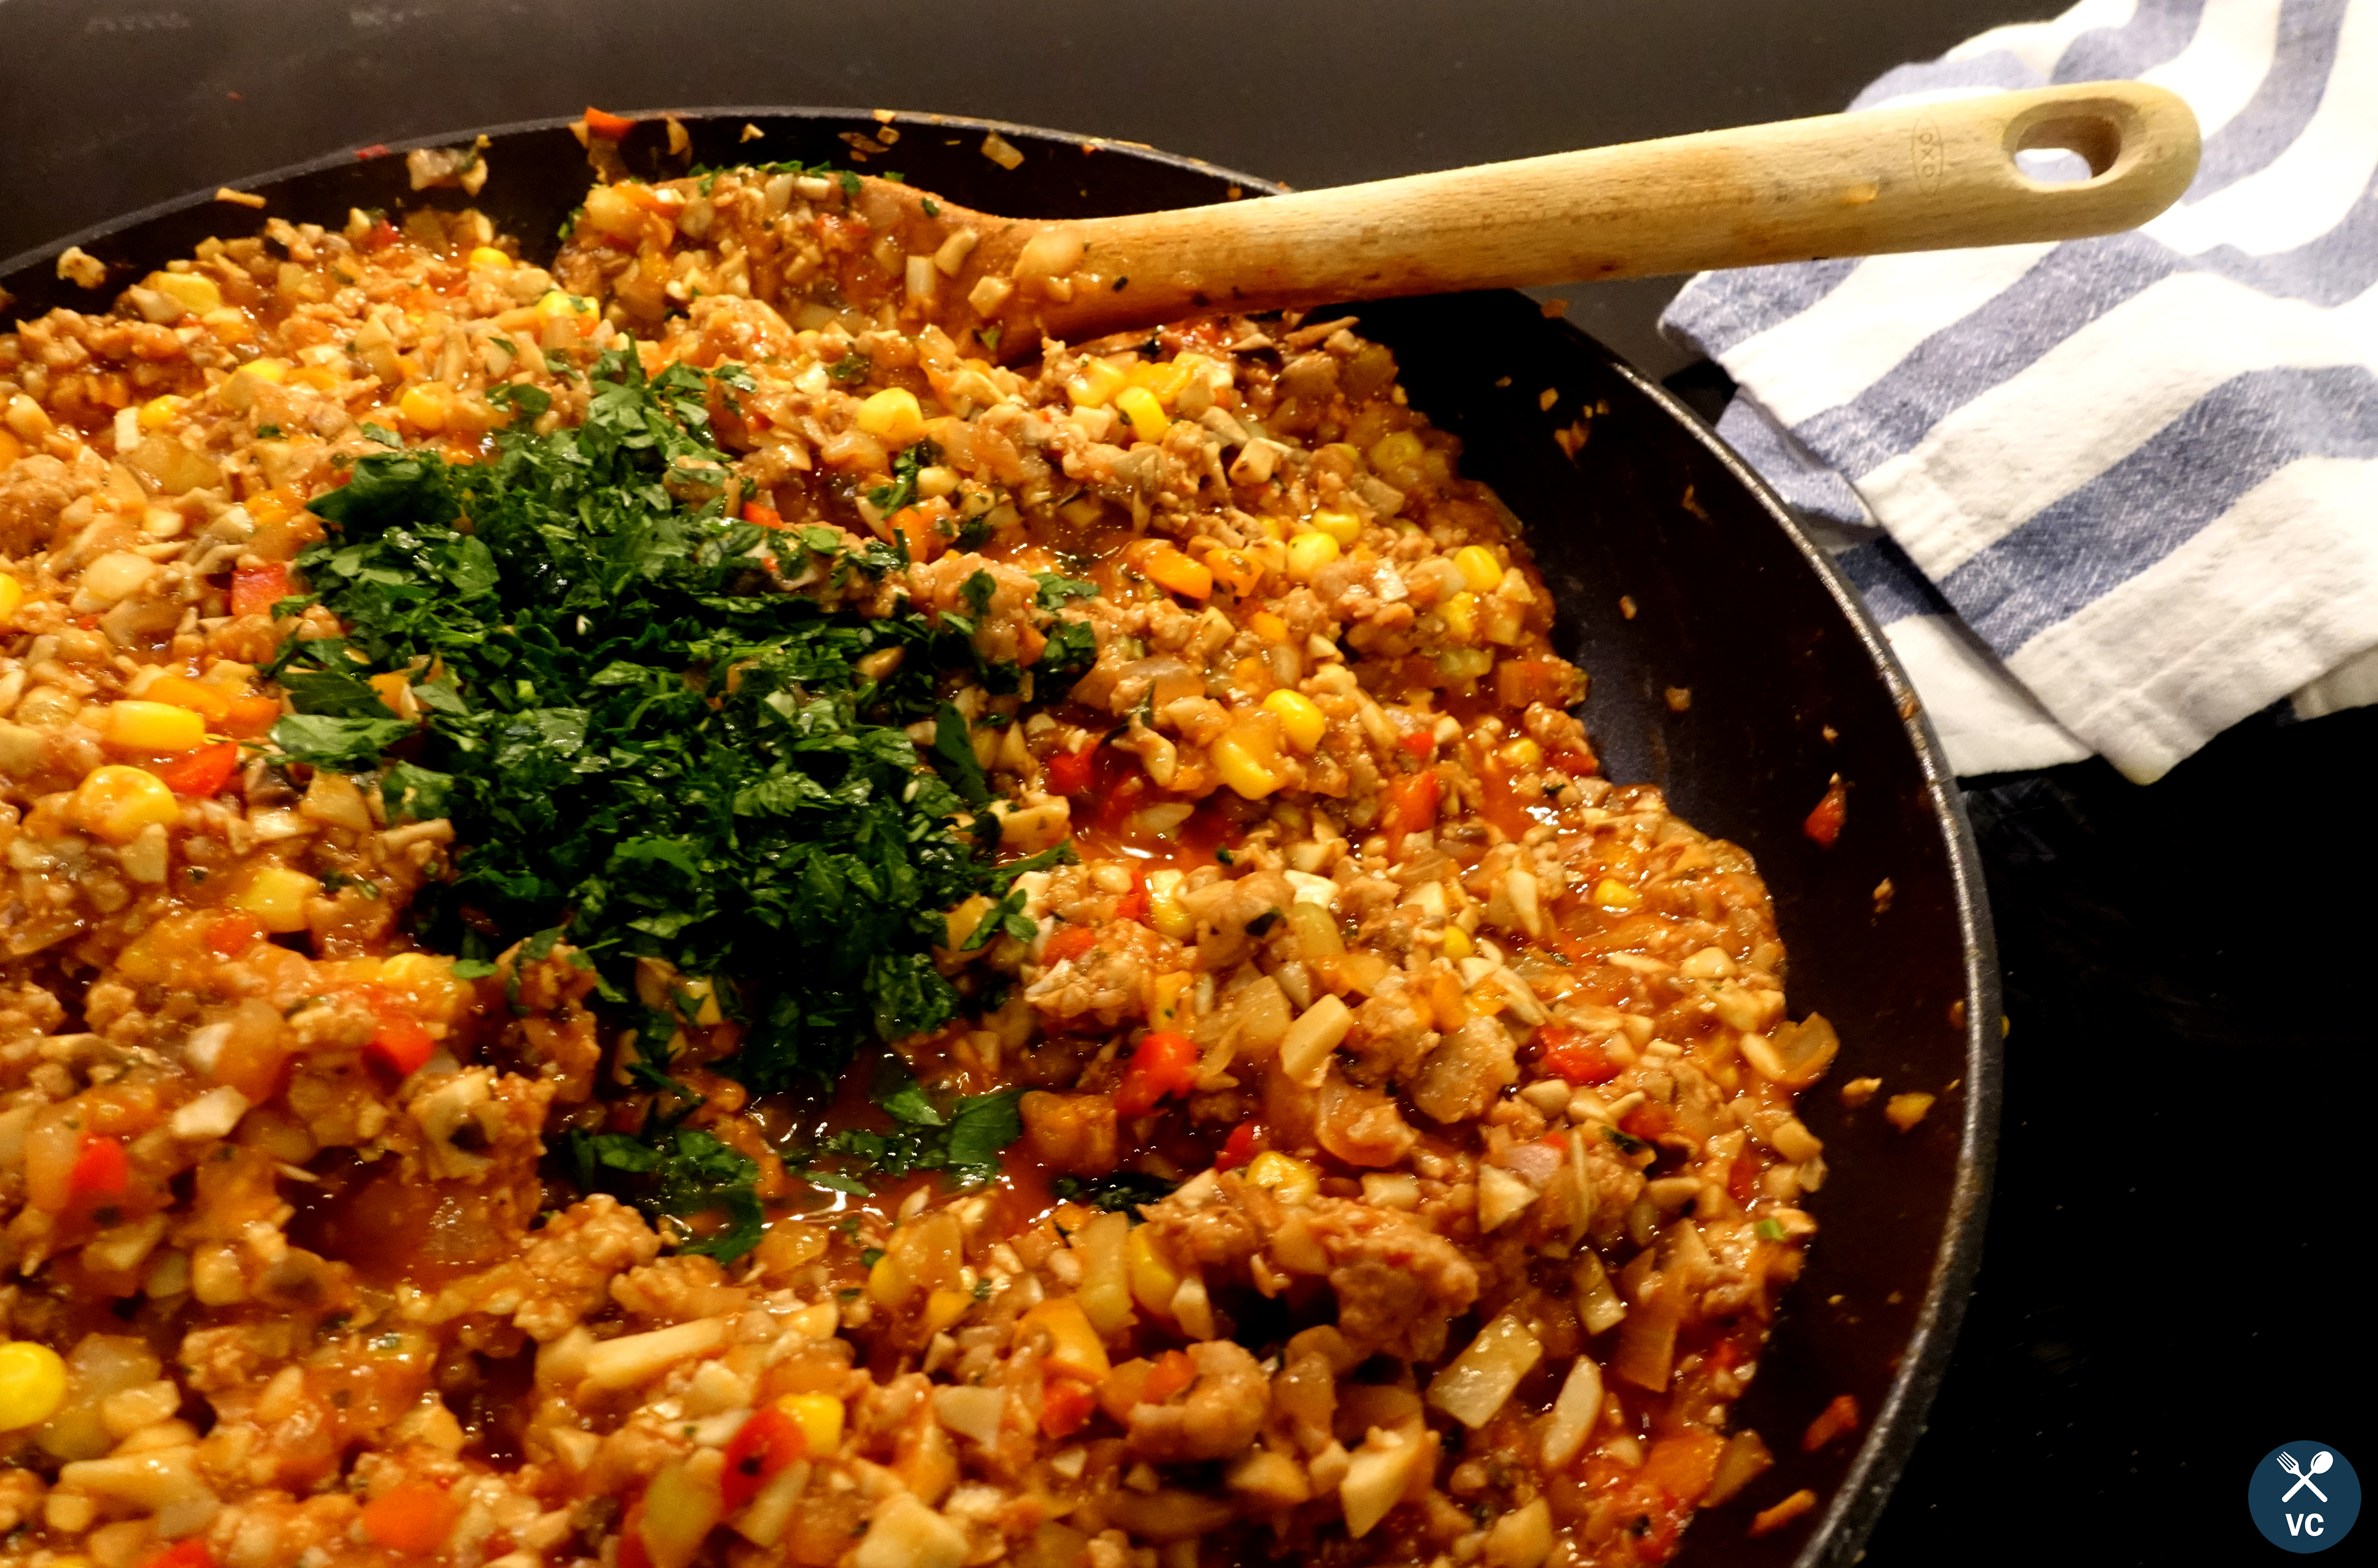
Finish and serve the stuffed peppers
Sprinkle the bell peppers with some shredded Monterey Jack cheese (feel free to substitute the cheese as well). I tend to sprinkle some and swirl about so it coats the bottom.
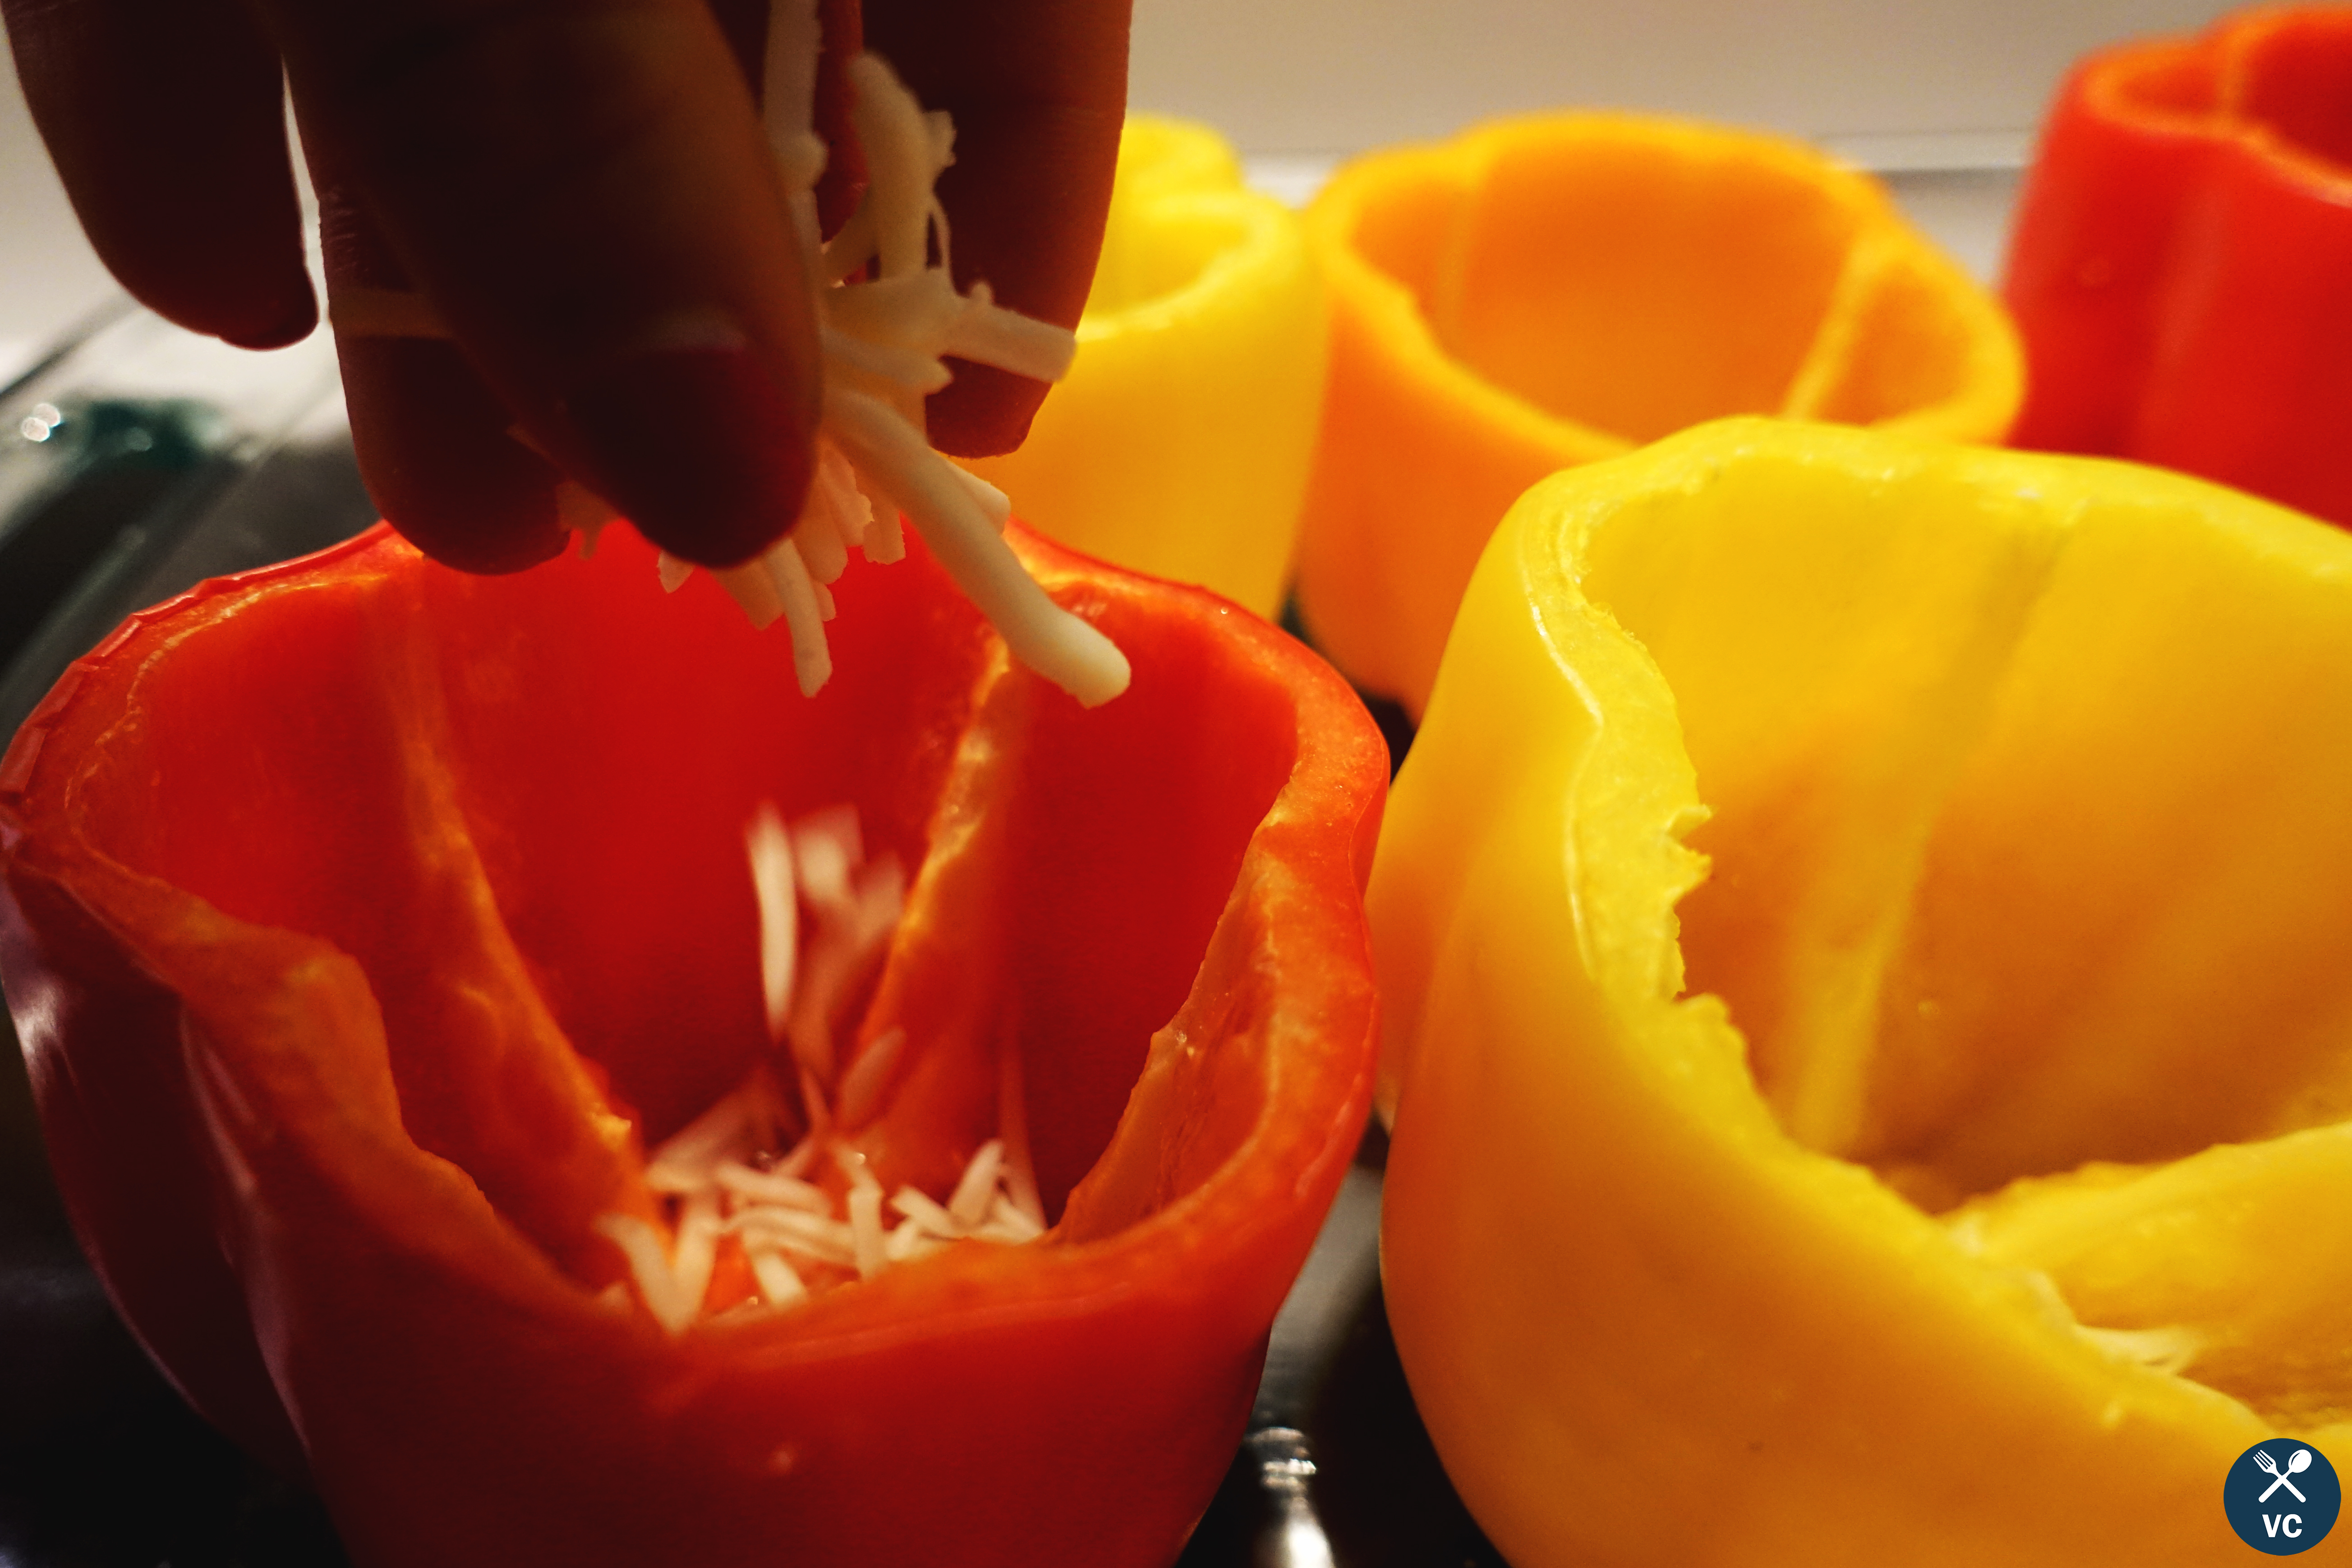
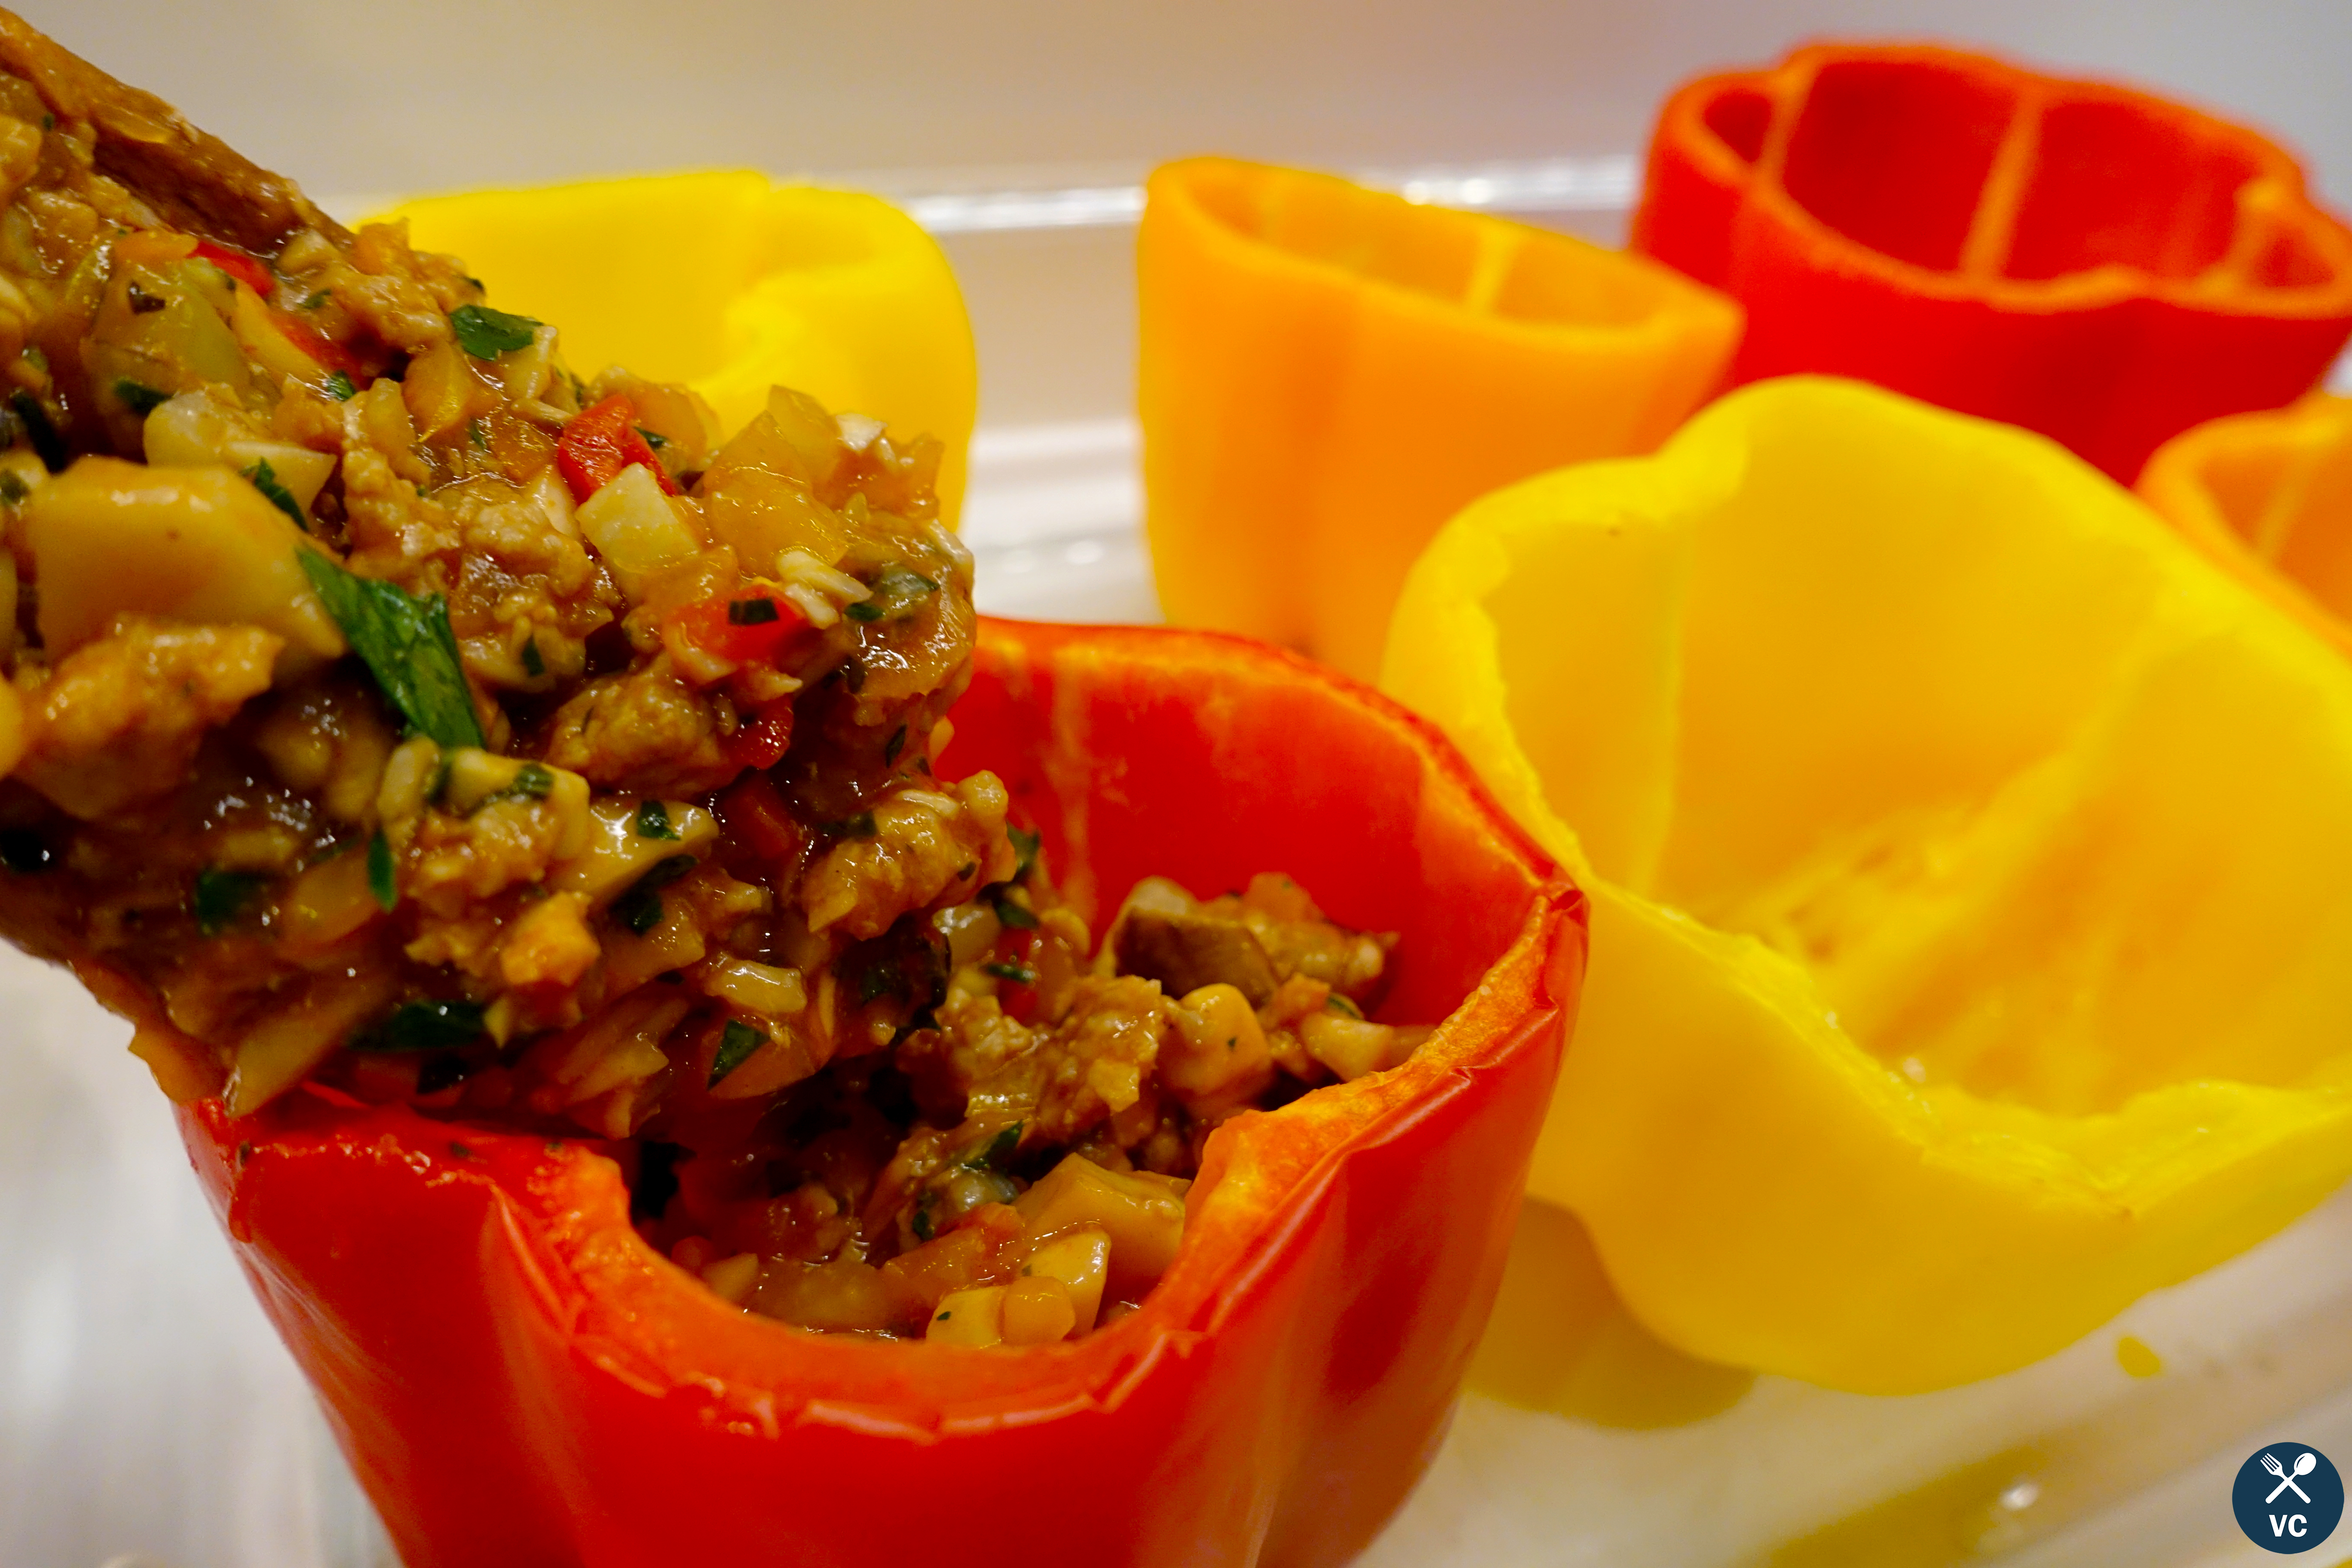
Fill the peppers with the turkey and vegetable mixture. It’s okay if they’re overflowing – actually I prefer this.
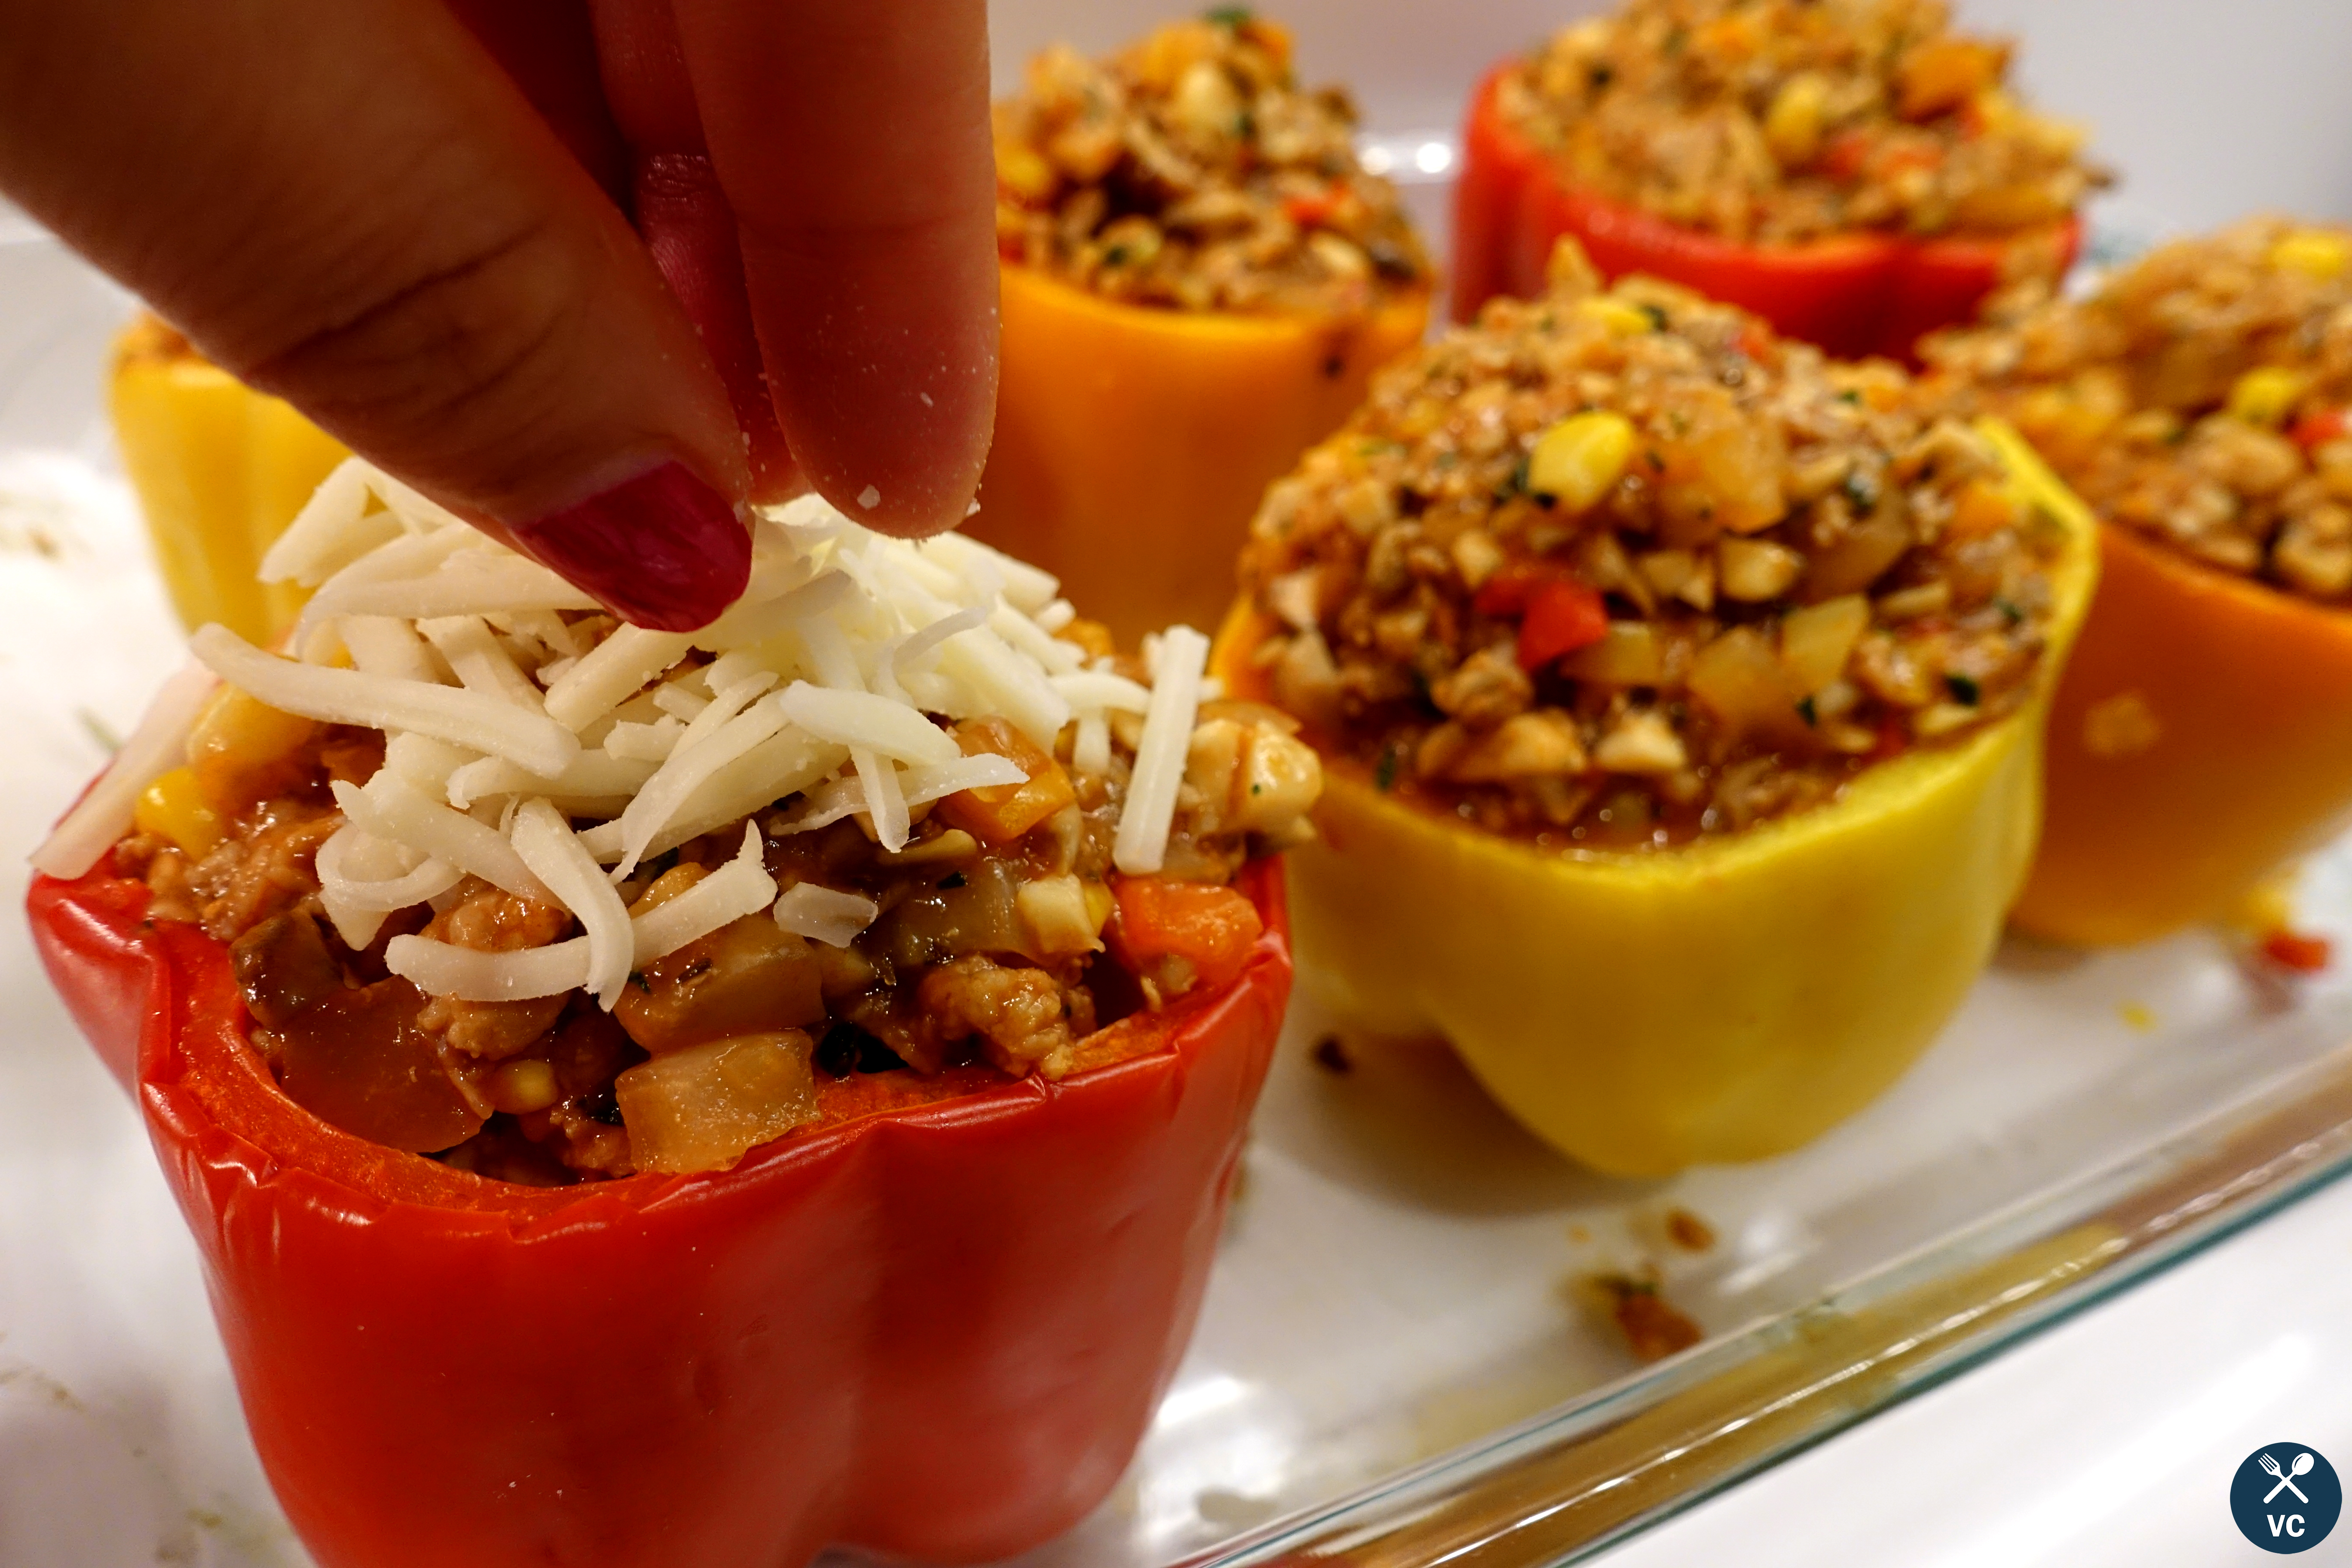
Sprinkle the tops of the stuffed peppers with cheese.
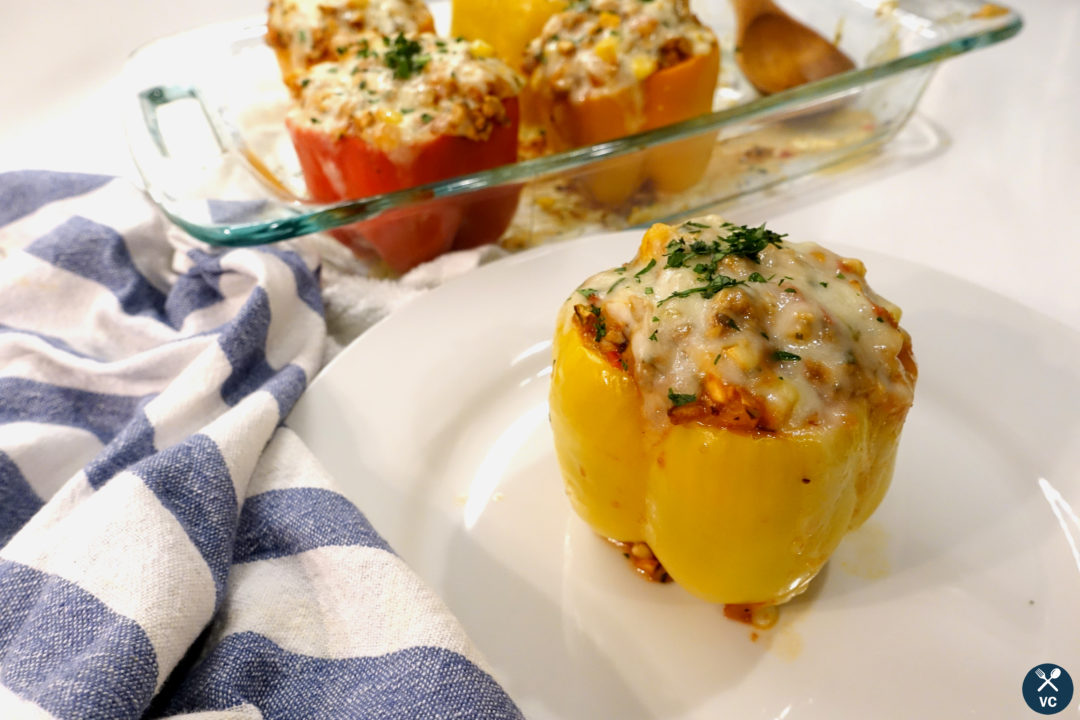
Bake for 12-13 minutes or until cheese is brown and bubbling. Serve the turkey stuffed peppers while still hot. Garnish with chopped parsley if you prefer.
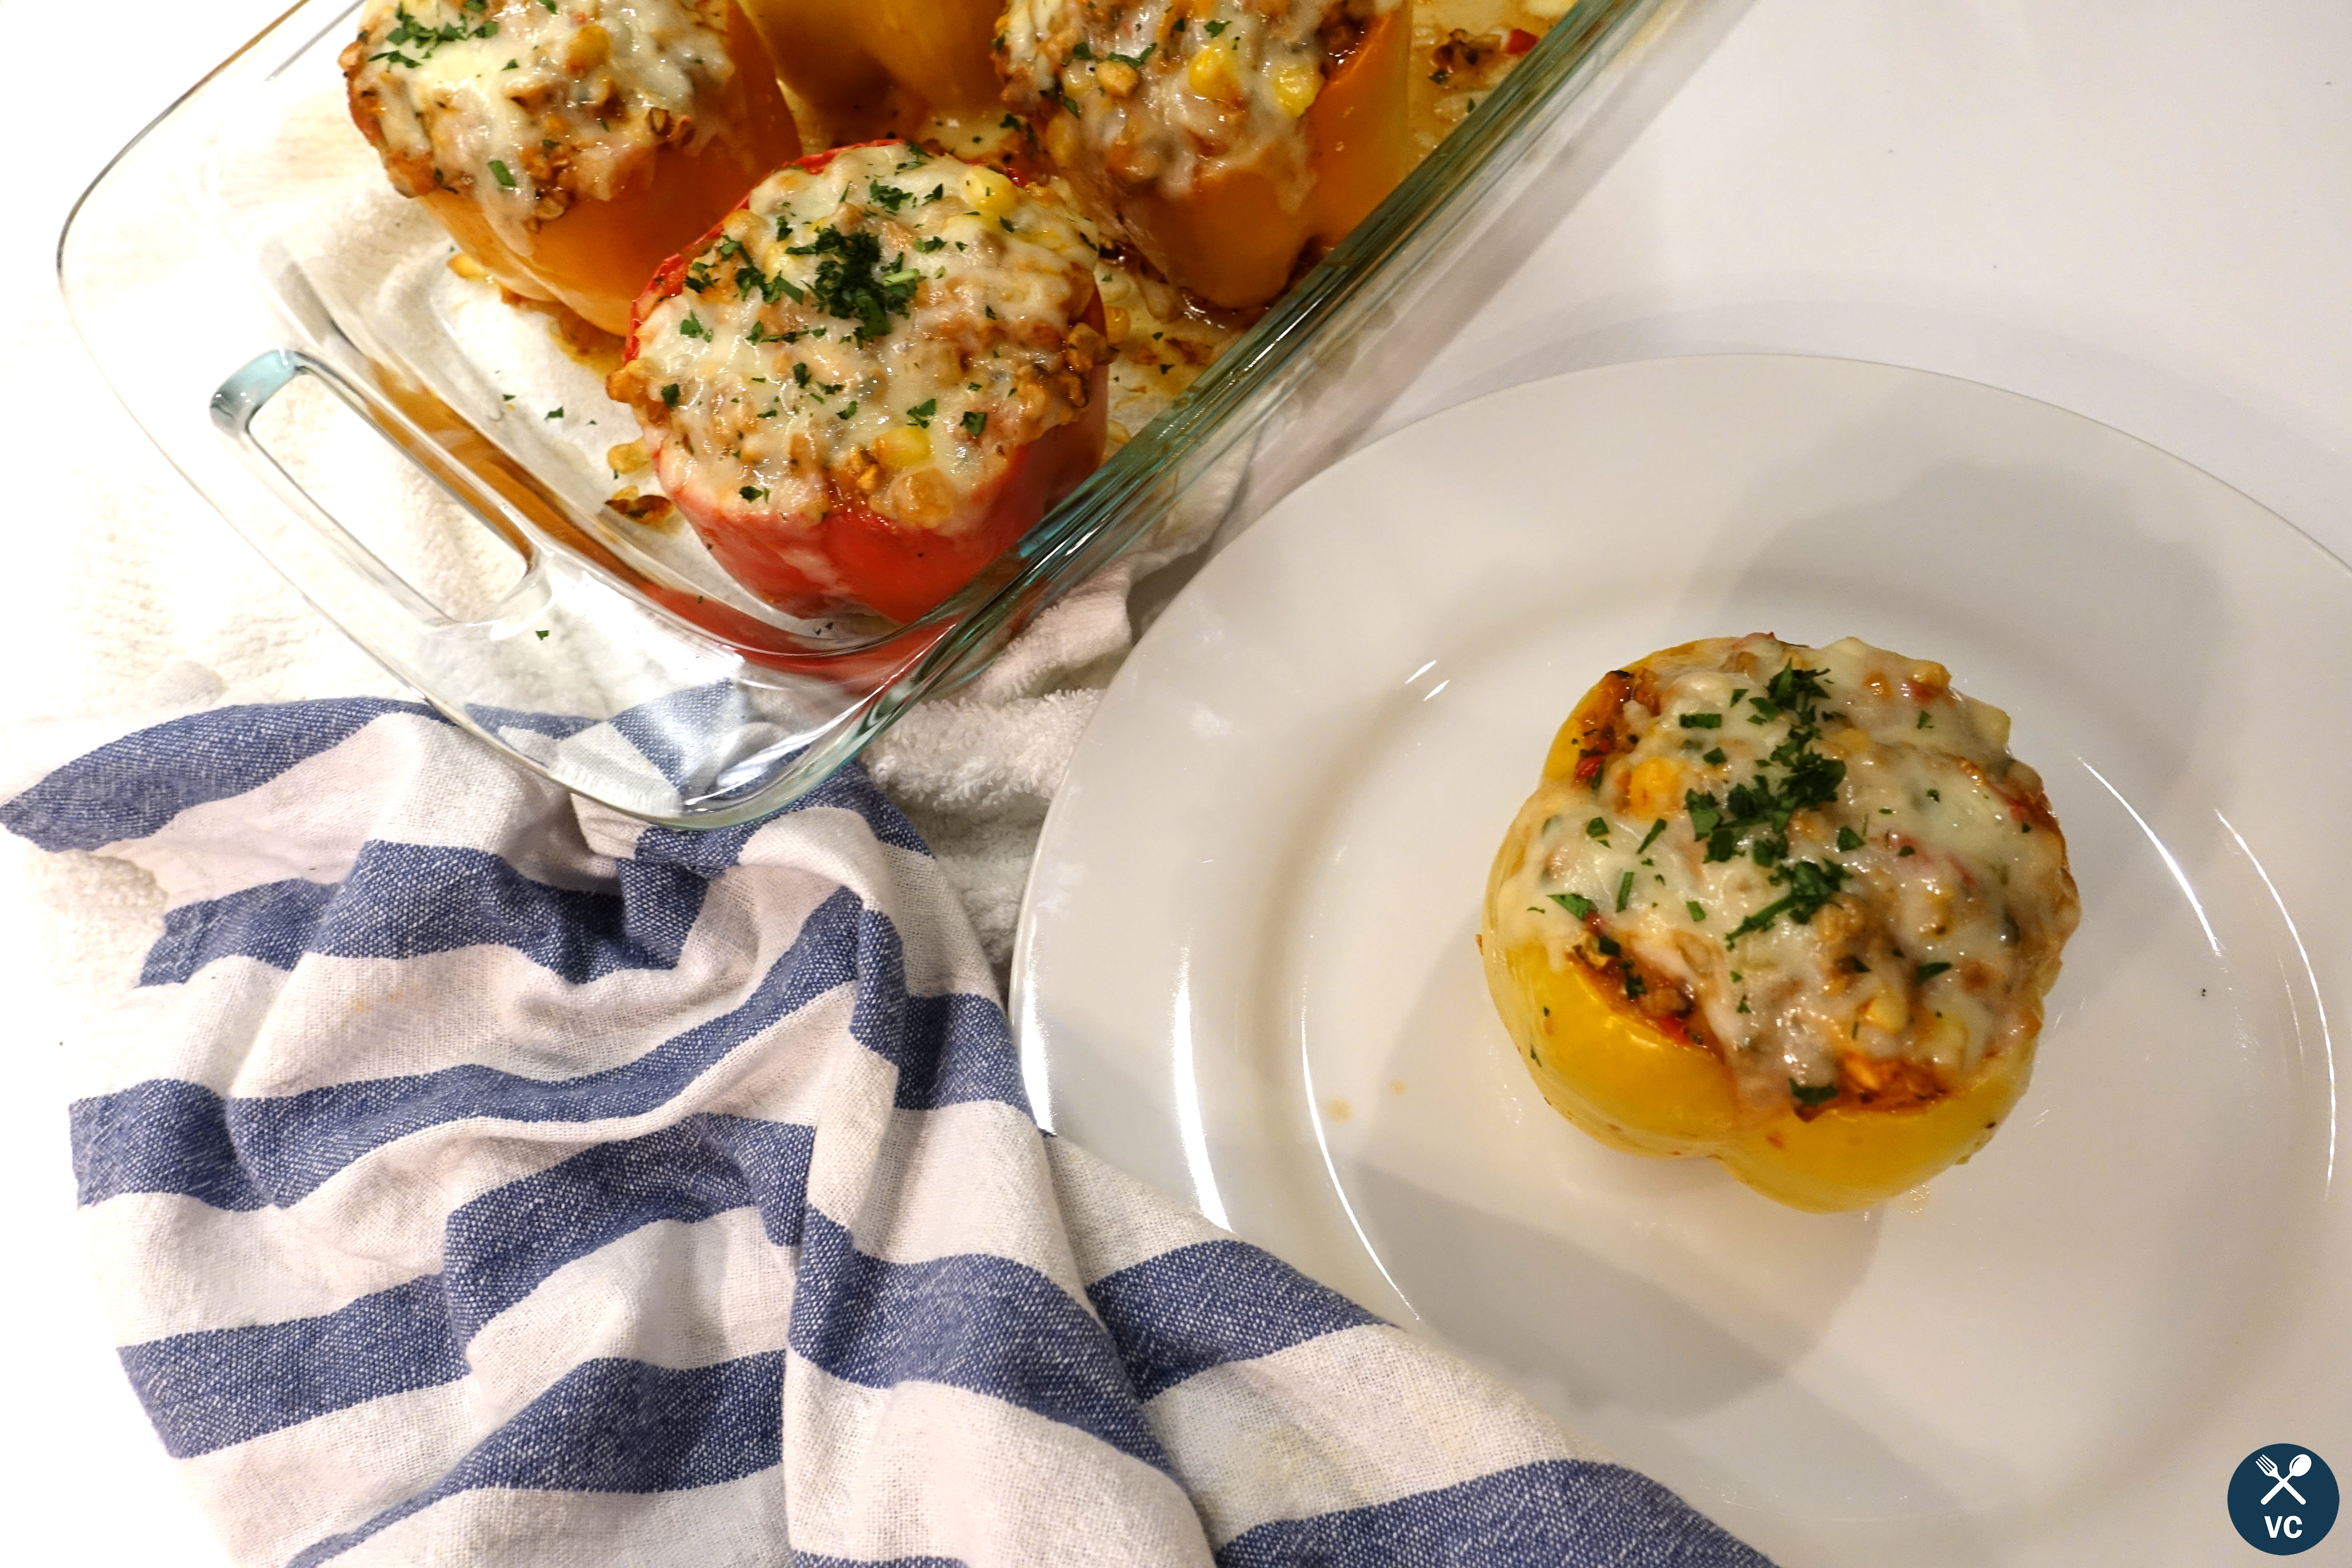
Turkey Stuffed Bell Peppers
Print RecipeIngredients
- 1 pound ground turkey
- 1 tablespoon olive or vegetable oil
- 1 medium onion, chopped
- 3 cloves garlic, minced
- 8 mushrooms, chopped
- 2 ribs celery, thinly chopped
- 1 14.5 ounce cans petite diced tomatoes with juice
- 2 tablespoons concentrated tomato paste
- 1 cups frozen corn
- ¼ cup fresh basil, chopped
- ¼ cup fresh Italian parsley, chopped, plus more for garnish
- 1 tablespoon oregano
- ½ teaspoon red pepper flakes
- Kosher salt and freshly black ground pepper, to taste
- 6 bell peppers
- 1 cups shredded Monterey jack cheese
Instructions
Preheat the oven to 350 degrees F.
Slice off the tops of the peppers and remove the insides, then rinse. Lightly sprinkle the inside of the peppers with kosher salt. Place the bell peppers in a baking dish and cover it all with aluminum foil. Bake in the preheated oven for 20 minutes.
As the bell peppers bake, chop up remainder of the peppers.
In a large skillet, add a tablespoon oil over medium high heat. Cook the garlic and onion for 1-2 minutes until fragrant. Add in the ground turkey until browned, about 6 minutes.
Add the mushrooms, diced pepper tops and celery, and cook about 4-5 until vegetables are softened. Stir in the diced tomatoes, tomato paste, corn, oregano and red pepper flakes. Season generously with kosher salt and ground pepper to taste (~2-3 tsp salt and 1-2 tsp pepper).
Cook for about 4-5 minutes more, until well incorporated. Stir in ¼ cup each of chopped basil and parsley, until warmed through.
Sprinkle the bell peppers with the shredded cheese. Stuff the peppers with the turkey and vegetable mixture. Sprinkle the tops with cheese and bake for 12-13 minutes or until cheese is brown and bubbling.
Serve hot. Garnish with chopped parsley if desired.
Notes
Feel free to substitute, add or remove filling ingredients as you see fit. Leftover peppers can last up to 5 days in the fridge.

No Comments